
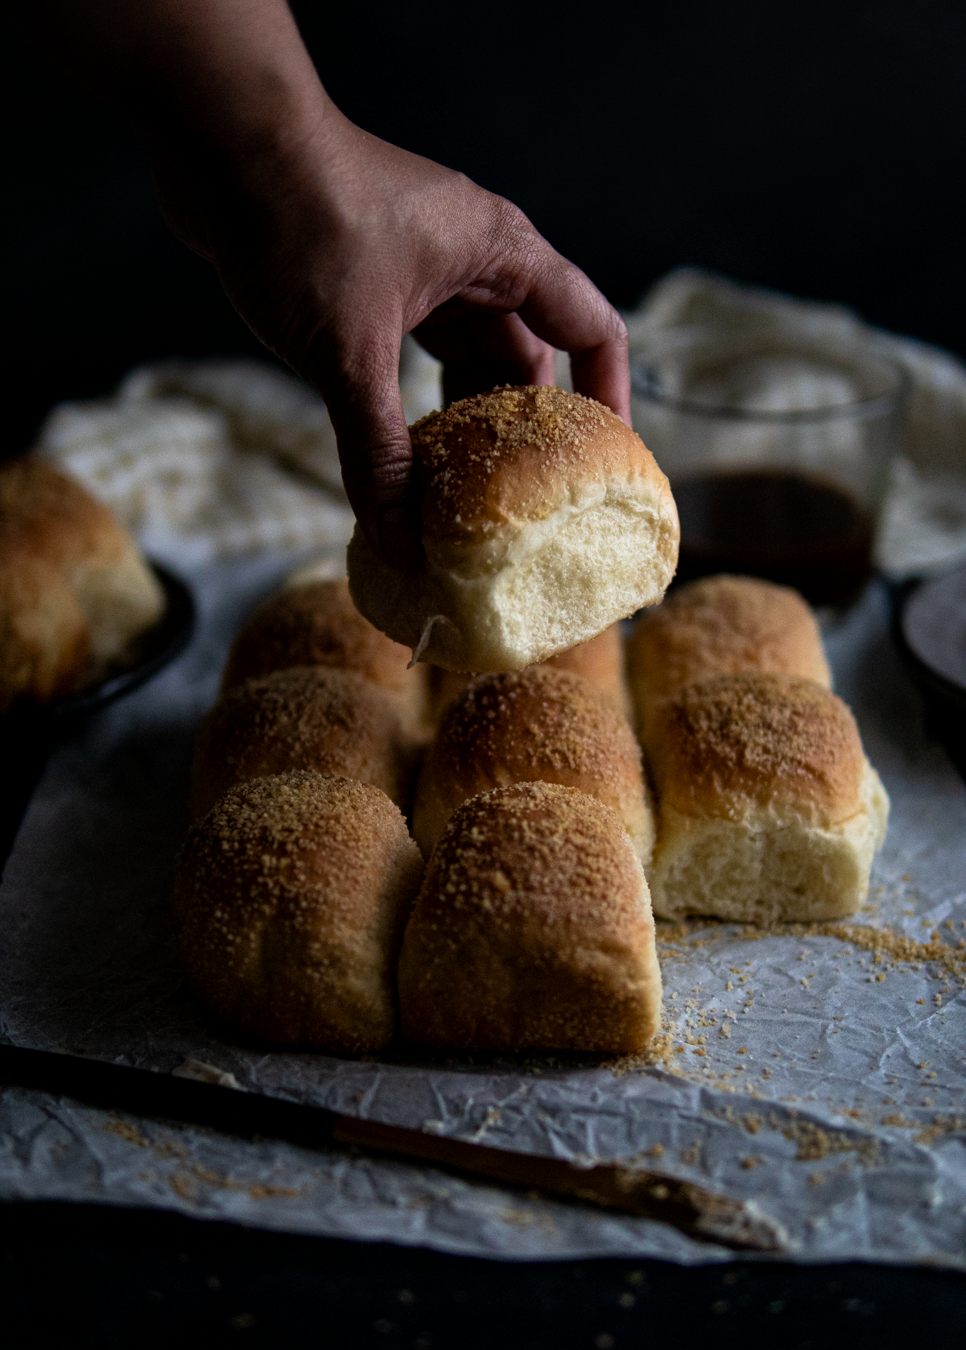
As a kid, my parents had always made sure that there was fresh bread on the table. While they were not bakers, they’d make every effort to wake up early in the morning, before work, to drive to the nearest bakery and buy a loaf of bread or half a dozen pandesal. I never really understood why they would make so much effort buying fresh bread every other day of the week. As a kid growing up on convenient meals, they could easily buy store bought bread that can last weeks.
It wasn’t until I was old enough to appreciate my trips to the Philippines and stayed where my parents grew up. There, my parents lived near small bakeries; literally walking distance. There, I would see how they’ve adapted their morning routine by buying fresh bread for the entire family. No matter how busy their day got, there was always something to look forward to in the morning.
And up until now, as I’m married and living in separate households, my parents will never be without fresh pandesal waiting for me on the table.
WHAT IS PANDESAL?
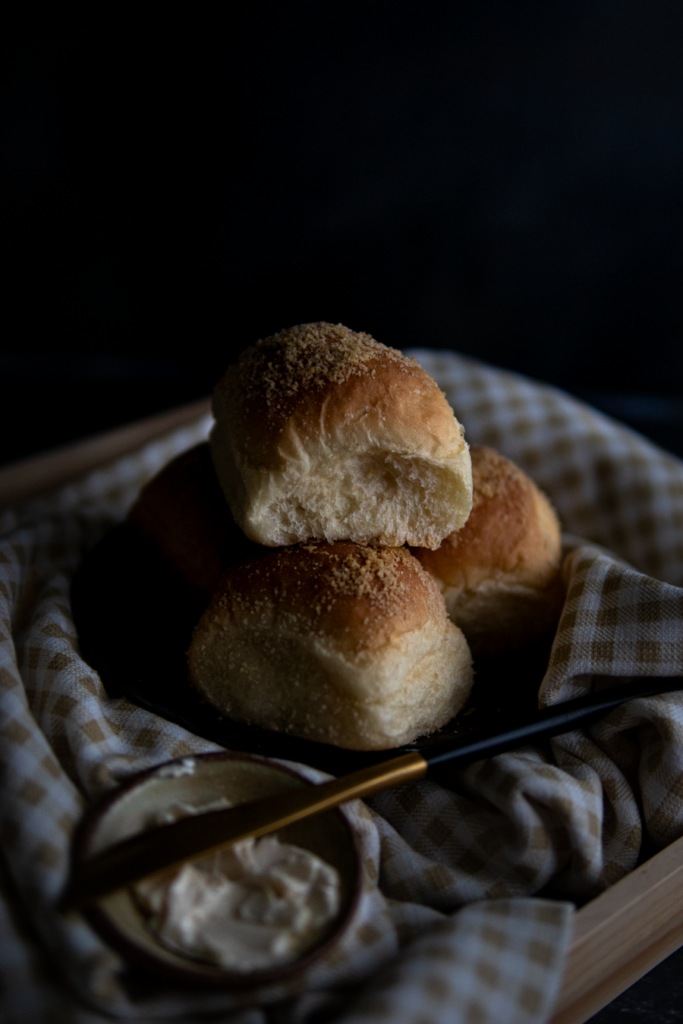
Pandesal, or pan de sal, is the national bread of the Philippines. Pandesal are bread rolls made with flour, water, yeast, sugar, breadcrumbs, and salt. Commonly, you can find this bread anywhere (and everywhere) in the Philippines for way less than twenty-five cents a piece. Most pandesal is often made accidentally vegan, if you are buying from very small neighborhood bakeries; since the cost of water is way cheaper than using milk and eggs. Over the years, many small bakeries have made different flavors of pandesal. But nothing beats a true classic.
You can find my Vegan Malunggay Pandesal recipe here as a variation.
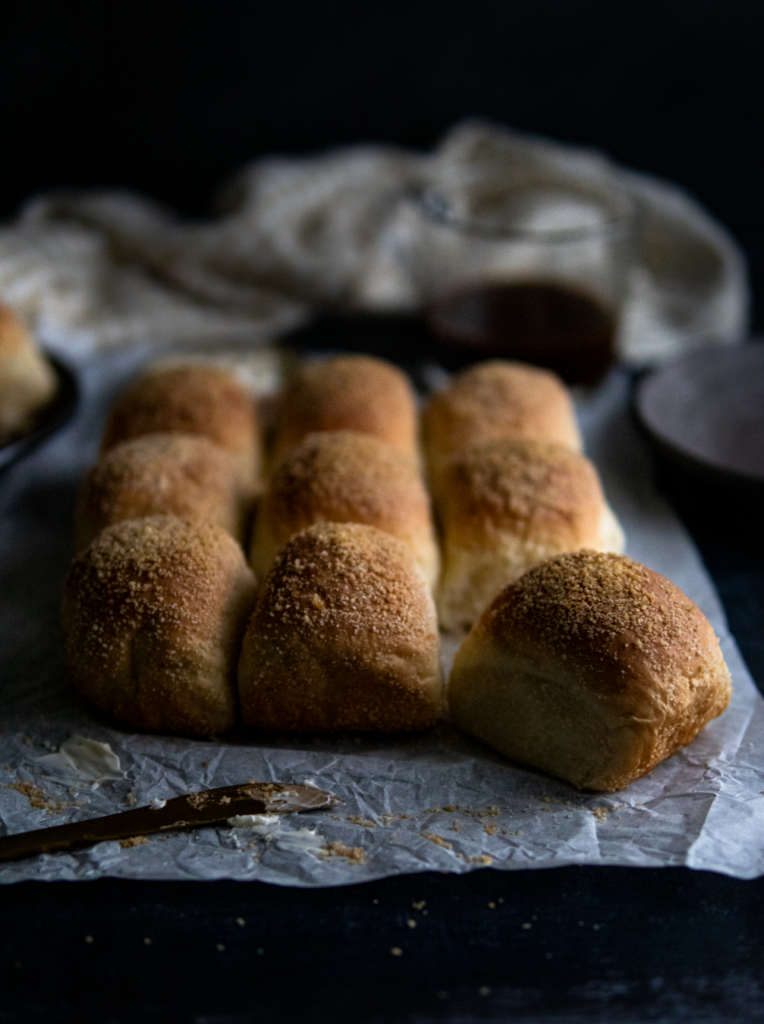
Pandesal has a golden brown exterior. When freshly baked, it toasty on the outside and soft on the inside. What sets pandesal out from other bread rolls is the signature toasted bread crumbs. Giving it a unique look and texture.
MERGING THE TANGZHONG METHOD
If I had one critique about most pandesal, is that it gets tough after letting it sit in room temperature for a few hours. My assumption is, it probably lacked hydration (or moisture) to keep the bread soft and fluffy. Let alone, I understand why most higher end bakeries in the Philippines, or even bakeries on Guam – where I live, have enriched doughs using butter, eggs, and milk to keep it soft.
With this recipe, I did not just to create another enriched bread roll and coat bread crumbs on it to call it pandesal. No. I want to make sure you get the fluffiest, most softest vegan pandesal at the comfort of your own home. Using the Tangzhong Method.
Tangzhong is a yeast bread technique popularized across Asia. It is the process that involves cooking a portion of the flour and liquid in the recipe into a thick slurry prior to adding the remaining ingredients, resulting in soft, fluffy bread (reference source: King Arthur).
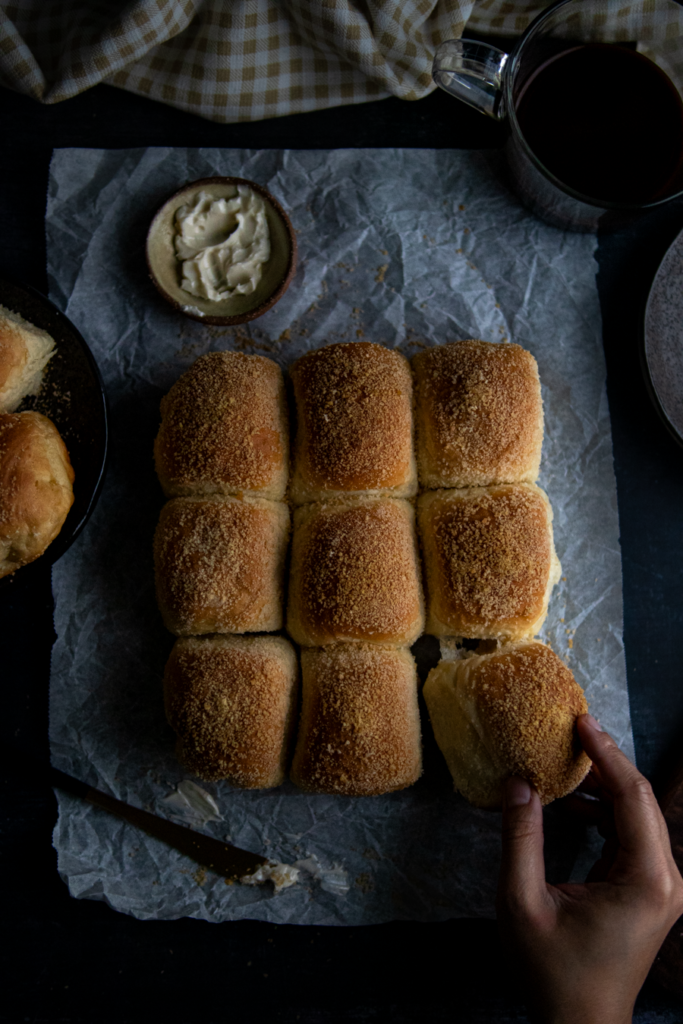
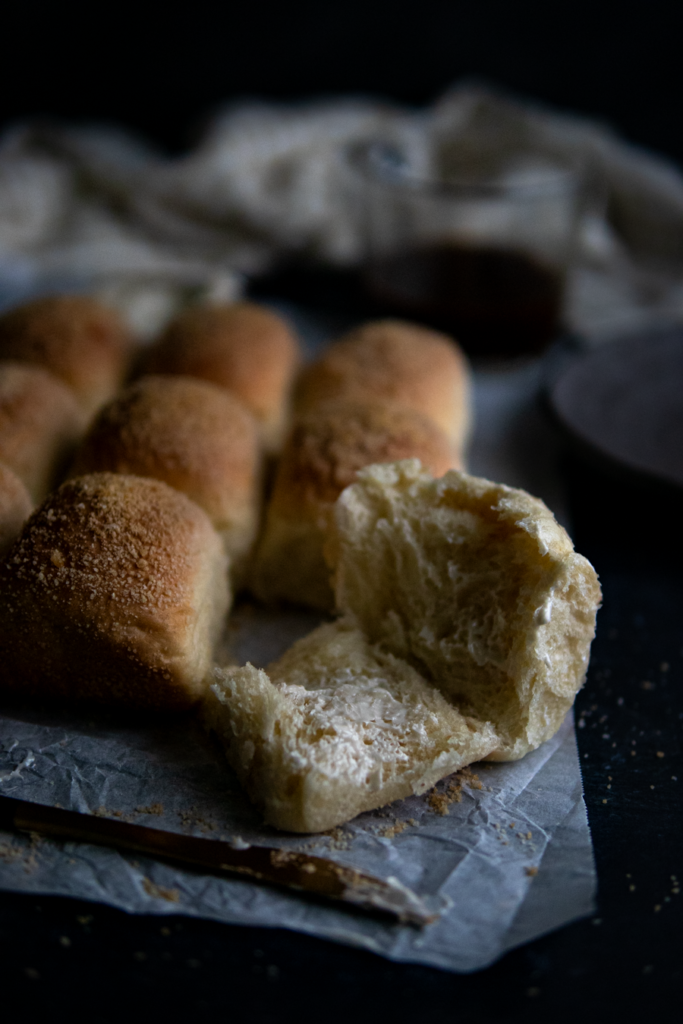
Adding an easy extra step is worth it. Because it resulted this vegan pandesal to be super soft and pillowy even after hours of sitting in room temperature. When freshly baked, it almost like biting into a texture of clouds in the inside, with the right amount of toasted crust on the outside.
PRO-TIPS BEFORE BAKING
- Be sure your yeast is active! Crucial step of yeasted bread before baking. See notes down below how to test the yeast before getting started. Non-active yeast will result to a very tough and dense dough. Let alone, your dough will not rise or double in size.
- Do not kill your yeast but also ensure it is activated! Second crucial step before baking. Be sure that your liquid ingredient is not any hotter than 100 degrees Fahrenheit, otherwise, you will kill it. But also ensure that your yeast is activated by making sure your liquid is lukewarm.
- Every flour is different. This all depends on the protein content and the brand. Be sure to thoroughly read the instructions on prepping the dough.
- Prepare cling wraps, damp towels, or reusable wraps to cover the dough as it proofs (rises). Dough can easily dry out and you’ll need to trap humidity to ensure it stays moist.
- If you have not yet, get yourself a food scale. It’s a great tool to have in the kitchen, not just for baking, but you’ll get better results with this recipe.
- Grind your panko bread crumbs with a food processor or blender beforehand for a finer crumb to get the traditional look of pandesal. You can also go to your nearest local bakery store for bread crumbs – just make sure they contain no eggs or dairy.
- Patience, grasshopper. Bread is a waiting process. Read a book, do chores, run errands, go about your day as you wait for the dough to rise in size.
Give this recipe a try and if you like what you see, please help me by liking this recipe or adding a comment in the comment box down below. Follow me on Instagram and don’t forget to tag me when you create recipes!
Vegan Pandesal (Softest Filipino Bread Rolls)
Equipment
- Mixing bowls
- Spatulas
- headstand mixer with dough hook or electric mixer (optional)
- Food processor (optional)
- measuring cups
- food scale (optional)
- cling wraps or clean dish towels
- sharp knife or bench scraper
- parchment paper
- large casserole dish (9×13), baking pan, or baking tray
Ingredients
FOR THE TANGZHONG
- 25 g (3 tbsp) unbleached all purpose flour
- 60 g (¼ cup) unsweetened plant milk (I used soy milk)
FOR THE DOUGH
- 320 g (1⅓ cup) unsweetened plant milk lukewarm between 95° – 100°F
- 5 g (2 tsp) instant yeast
- 500 g (4 cups) unbleached all purpose flour
- 50 g (¼ cup) granulated sugar
- 2 g (½ tsp) fine sea salt
- 60 g (4 tbsp) vegan butter softened to room temperature
- panko bread crumbs fine ground
Instructions
FOR THE TANGZHONG
- Using a small sauce pan, whisk together milk and flour together until all dry spots of the flour have dissolved. Place sauce pan on the stove top, in low heat. Continuously whisk mixture until it thickens to a thick paste consistency. This process takes between 2-3 minutes, or shorter, depending on your stovetop. Keep an eye on it so it does not burn or dry up.
- Turn off the heat. Transfer the paste/roux on a small saucer or ramekin. Spread the paste on a thinner layer to allow it to cool down faster. Cover with a damp cloth and set it aside.
FOR THE DOUGH PREPARATION
- Heat plant milk on a stove top or microwave to lukewarm (around 95° – 100°F). Remove from the heat. Do not make your milk any hotter than the given temperature, as this will kill your active yeast. Add the yeast into the milk. Cover for 5 minutes. You will know your yeast has been activated when it starts to foam on top of the liquid.Note: if your yeast has not foamed for more than ten minutes, this might mean your yeast is no longer fresh and is inactive. You'll have to purchase or use another packet.
- On a large mixing bowl combine all dry ingredients such as the flour, sugar, and salt. Thoroughly whisk. Then, prepare the Tangzhong paste and drop into the flour mixture.
- Using a headstand mixer with hook attachment(electric mixer or by hand), thoroughly mix the paste with dry ingredients until it is fully submerged. Then, gradually pour yeast and milk mix. Kneed the ingredients together until it turns into a cohesive dough. NOTE: Every flour works differently, do not pour the liquids all at once. You may or may not use all the liquids. It should result to a well hydrated, soft dough.
- Add the softened butter. Allow the butter to spread all over the dough and kneed until smooth and the is soft and smooth. This should take between 5-10 minutes on a headstand mixer. It may require extra time if you are doing it by hand. You'll know your dough is done if dough if it can stretch and feel more elastic.
- Grease a large mixing bowl with butter or oil and place your dough to rest covered with a damp kitchen towel or cling wrap. Leave it for an hour or until it has doubled in size. If you have a thermometer, the ideal dough temperature would be between 74° – 78°F to activate faster.
FIRST PROOF PREP
- Once your dough has doubled in size, punch down the gas and kneed on a smooth surface. Divide the dough into 16 equal pieces. Form each pieces into a ball by rolling it on a smooth surface. You can eyeball the size of each piece as best as you can. If you want to be precise, each dough ball should roughly be around 1" in diameter and about 60g in weight to make 16 pieces.If the dough is sticky to work with, you may lightly flour (or oil) your hands or the dough to work with. However, try to avoid using too much flour – your bread might result in dryness after baking.
- Coat each dough ball with breadcrumbs. If you find the breadcrumbs not sticking onto your dough pieces, you may lightly brush each piece with oil or coat with a cooking spray.
- Line each dough ball on a baking tray or glass casserole dish, leaving about 1½" breathing room to expand. Do not worry about spacing them apart too much as they will be touching after the second proof. Cover with a damp towel and let it rest for another hour or until it has doubled in size.
BAKING
- Preheat the oven to 350°F. Bake for about 30-35 minutes or until bread is golden brown on top. Best served when it is freshly baked with vegan cheese, butter, or peanut butter and a side of hot chocolate or coffee.
Notes
- For using panko bread crumbs – the finer the bread crumbs, the better. You can grind your panko bread crumbs on a food processor or blender beforehand. This, of course, is optional.
- Make sure your yeast is active – When making bread, the most important key is ensuring your yeast is active. To test it, drop dry yeast into a warm liquid (between 95-100 degrees Fahrenheit) with a teaspoon of granulated sugar. Allow it to dissolve and let it sit for 5-10 minutes. If the yeast has created a foam on top of the liquid, it means it is active and good for use. If not, the yeast packets may have been sitting in store shelves for a while and have lost its freshness.
- Use a casserole dish (or any oven friendly deep dish) – to get the best soft and fluffy result of your bread rolls. This will help capture steam in between the bread rolls, also helps preventing it from drying out. Baking trays will work fine, but keep in mind that it may result to building a harder crust.
