
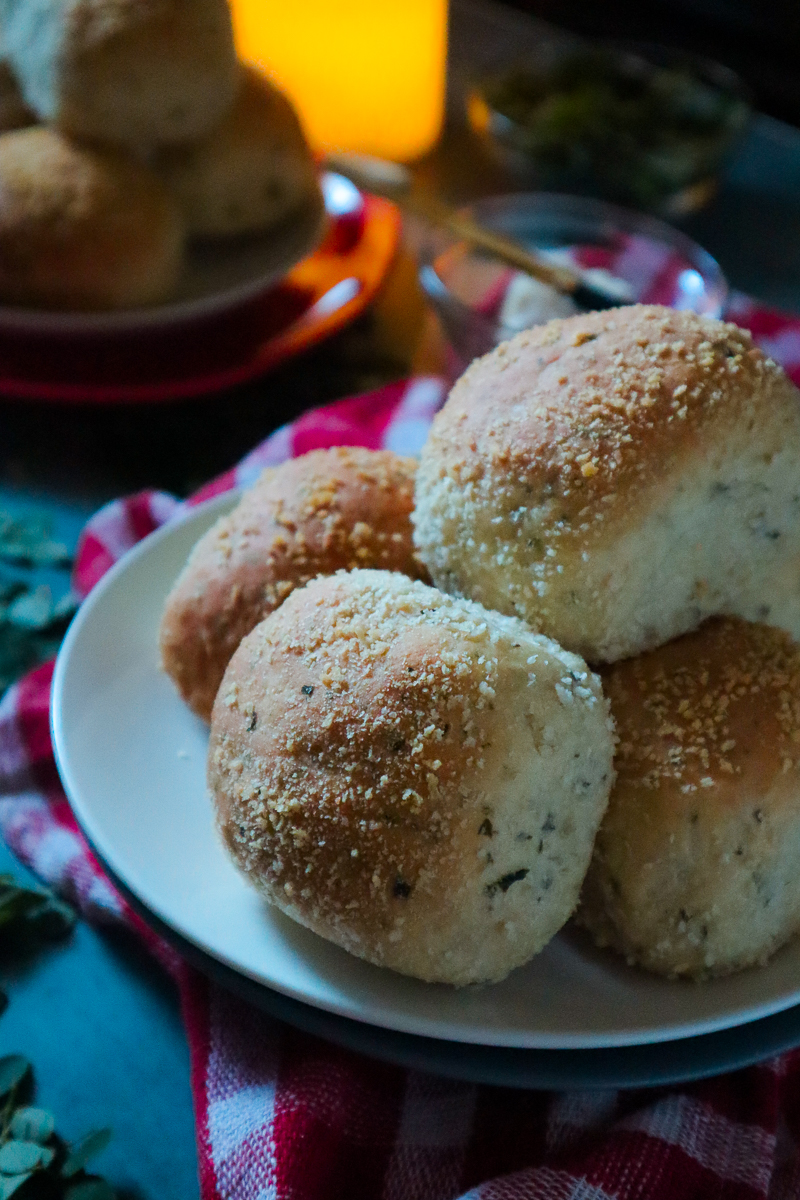
Two things: Pandesal, or rather pan de sal, is the national bread of the Philippines that’s toasted golden brown and coated in bread crumbs. Pandesal is often paired with coffee or hot chocolate in the morning for breakfast or as a midday snack. Secondly, malunggay (ma-loong-gai) leaves, or moringa leaves, are grown from drumstick trees often grown in the tropics – if you are living in the Pacific, you would most likely find malunggay leaves in your backyard (or your neighbor’s or relative’s). In the Philippines, malunggay is used for cooking from stews, broths, teas, and even desserts. It’s known for its nutritional value such as lowering down blood pressure and cholesterol, a great source of an anti-inflammatory agent, high in fiber, calcium, and vitamins. For this recipe, we’re pairing the two together.
Pandesal has many variations. The plain pandesal, being the most common you would find in grocery stores, and flavors that are more modern like ube with cheese, pandan, corn beef, and malunggay.
I lived in the Philippines in four years during my years in a university. On weekends, I would stay at a family house in the province of Cavite and there’s a bakery from across our house that made malunggay pandesal as one of their specialities. I remember families lining up, as early as 6AM, to buy fresh bread for less than 25 cents a piece. My mom, in particular, would often buy malunggay pandesal for the entire house and I would wake up to it every Saturday and Sunday morning with those 3-in-1 coffee mixes for dipping and Filipino peanut butter. So pandesal, particularly malunggay pandesal, has some nostalgic factor for me. I’ve not had one in a long time so I wanted to recreate it.
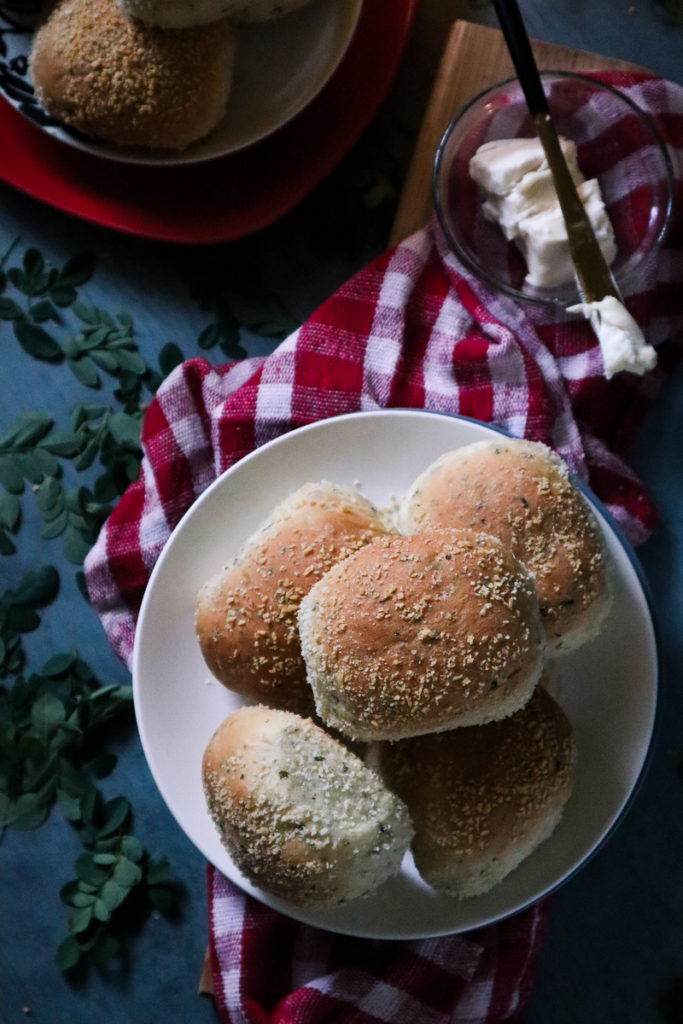
I am quite fortunate enough to have easy access to malunggay leaves for free. Living on Guam, you can literally find it anywhere at no cost – just make sure you are not stepping on private property. It’s, honestly, one of my favorite greens and I took it upon myself to make something creative out of it each time I had it. I’m also trying to make it a habit to share more usage of native and locally grown plants and produce on this blog to show that locally grown produce and food sources can be just as tasty and you can do whatever you want with it. So instead of making a stew or some kind of soup with malunggay – which is commonly known for in Filipino cooking – why not turn it into a bread recipe?
I’ve been baking bread for a little over a year now and never had a bread recipe on The Earth Kitchen. So this is the best time to do so (and also assuming you’ve probably learned how to make some kind of bread during the quarantine)!
PRO-TIPS BEFORE BAKING:
- I used fresh malunggay leaves for this recipe. I cannot speak for powdered malunggay (moringa powder) or frozen substitutes as I’ve never made it with those options. It may compromise the texture of the dough – you may have to play with the hydration levels. However, I do not recommend it if you’re not really comfortable making dough just yet.
- Rinse malunggay leaves thoroughly. Squeeze out any excess liquid before mixing into your dough and pat dry.
- If you have not yet, get yourself a food scale. It’s a great tool to have in the kitchen, not just for baking, but you’ll get better results with this recipe. I mainly measured in grams (g) for this recipe. And since we are working with portioning out bread rolls, a food scale will definitely help to keep them all the same size. But don’t worry, for those who do not plan to purchase a food scale anytime soon (or ever) cup measurements are also provided.
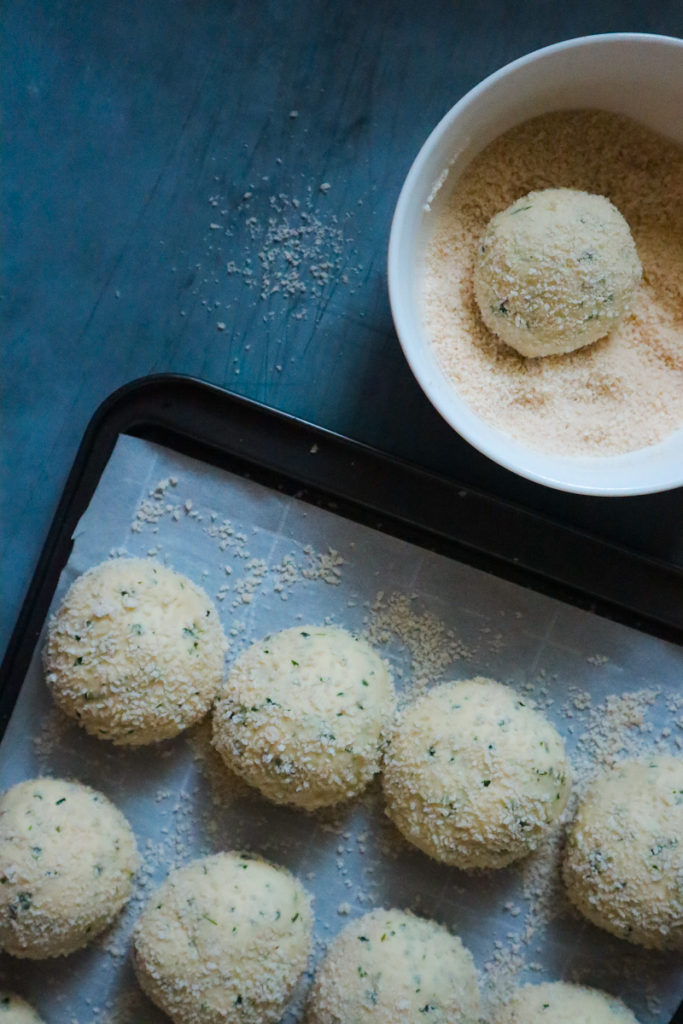
- Grind your panko bread crumbs with a food processor or blender beforehand for a finer crumb to get the traditional look of pandesal. You can also go to your nearest local bakery store for bread crumbs – just make sure they contain no eggs or dairy.
- When making bread, the most important key is ensuring your yeast is active. To test it, drop dry yeast into a warm liquid (between 95-100 degrees Fahrenheit) with a teaspoon of granulated sugar. Allow it to dissolve and let it sit for 5-10 minutes. If the yeast has created a foam on top of the liquid, it means it is active and good for use. If not, the yeast packets may have been sitting in store shelves for a while and have lost its freshness. Unfortunately, non-active yeasts will not work for this recipe.
Give this recipe a try and if you like what you see, please help me by liking this recipe or adding a comment in the comment box down below. Follow me on Instagram and don’t forget to tag me when you create recipes!
Vegan Malunggay Pandesal (Moringa Filipino Bread Rolls)
Equipment
- Mixing bowls
- Spatula
- headstand mixer (optional)
- Food processor (optional)
- food thermometer (optional)
- food scale (optional)
- cling wraps or towels
- sharp knife & cutting board
- parchment paper
- baking tray or baking dish
Ingredients
- 4 cups (500g) unbleached all purpose flour
- 1 cup (20g) fresh malunggay (moringa) leaves removed from stem
- 2¼ tsp active dry yeast or 1 packet
- 4 tbsp (56g) vegan unsalted butter softened to room temperature
- 1½ cup (350g) unsweetened plain non-dairy milk lukewarm or between 95-100°F
- 1 tsp (5g) salt
- ¼ cup (50g) granulated sugar
- panko bread crumbs (see notes)
Instructions
- Rinse malunggay leaves thoroughly and pat dry (or squeeze out excess liquids). Using a food processor or knife, chop the malunggay leaves to fine small pieces. Pat dry again and try your best to get out as much liquids as possible. Set aside.
- In a large mixing bowl (or headstand mixer), dissolve active dry yeast into warm milk with a teaspoon of sugar. Mix and let it sit for 5-10 minutes. You will know the yeast is active when it foams or bubbles on top of the liquid.
- Mix in the rest of the sugar to the liquids. If you are using a headstand mixer, set the speed on low to mix. Add the teaspoon of salt.
- Using a hook attachment for the headstand mixer, gradually add in the flour until it forms into a soft dough. Mix in the malunggay leaves and, little by litte, the softened butter. Kneed onto the dough until all ingredients are well combined. Continuously kneed on a medium speed (or by hand) until dough is smooth or elastic enough to stretch without tearing.NOTE: Do not add the flour all at once. Every flour is different. You want to avoid from the dough from being too dry or too sticky from the initial mix.
- Grease another mixing bowl with butter or oil and place your dough to rest covered with a damp kitchen towel or cling wrap. Leave it for an hour or until it has doubled in size. If you have a thermometer, the ideal dough temperature would be between 74° – 78°F to activate faster.
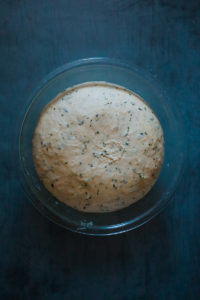
- Once your dough has doubled in size, punch down the gas and kneed on a smooth surface. Divide the dough into 16 equal pieces. Form each pieces into a ball by rolling it on a smooth surface. You can eyeball the size of each piece as best as you can. If you want to be precise, each dough ball should roughly be around 1" in diameter and about 57g in weight to make 16 pieces. If the dough is sticky to work with, you may lightly flour your hands or the dough to work with. However, try to avoid using too much flour – your bread might result in dryness after baking.
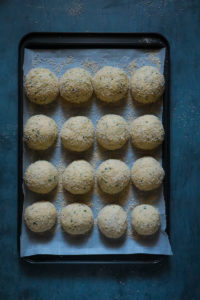
- Coat each dough ball with breadcrumbs. If you find the breadcrumbs not sticking onto your dough pieces, you may lightly brush each piece with oil or coat with a cooking spray. Line each dough ball on a baking tray, leaving about 1½" breathing room to expand. Do not worry about spacing them apart too much as they will be touching after the second proof. Cover with a damp towel and let it rest for another hour or until it has doubled in size.
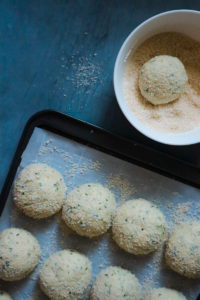
- Preheat the oven to 375°F. Bake for about 25-30 minutes or until bread is golden brown on top. Best served when it is freshly baked with vegan cheese, butter, or peanut butter and a side of hot chocolate or coffee.
Notes
