
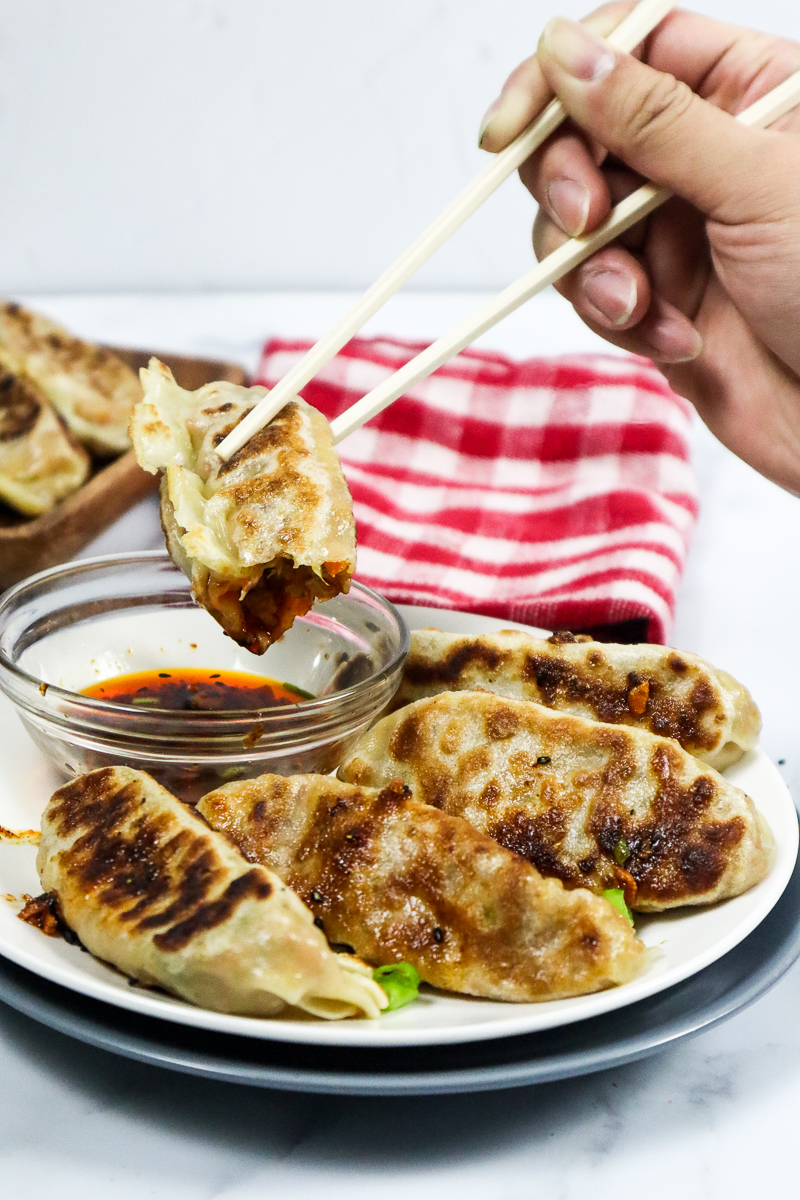
I don’t blame you if you find homemade dumplings to be intimidating to make at home. Not going to lie, it sure is a process. And if you are finding yourself scrolling through the instructions thinking, “well I’m not going to do that,” let me tell you this: read it carefully and DO NOT be afraid. Because homemade dumplings are worth it. It will beat any frozen store bought dumplings out in the market. Trust me. And once you get the process started, it actually not as intimidating as it seems.
I grew up eating dumplings, coming from an Asian-Pacific Islander family. As Filipinos, we have our own version which is called the siomai, which is made with a pork and shrimp ginger filling shaped into mini dumpling cups. I kind of gotten some inspiration from how it was prepared and apply it to this recipe. I’ve kept it simple but flavorful enough to stand on its own.
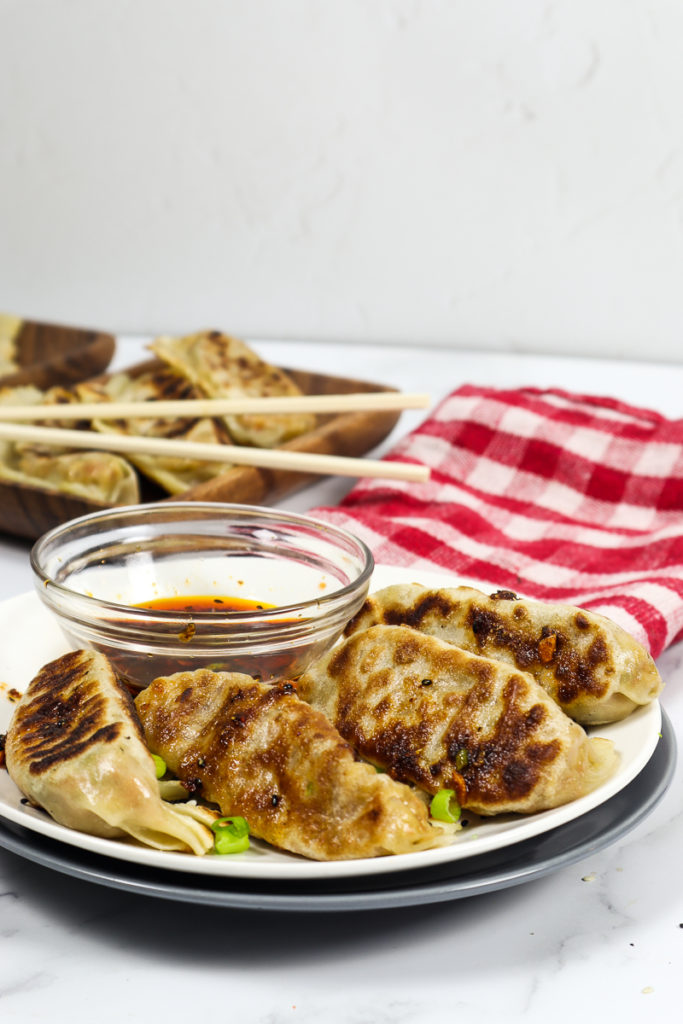
I did not want to stray away from the familiar flavors that I grew up with and overtly filling the dumplings with a bunch of different vegetables and greens just to say it is “vegan or plant based”. I wanted to make sure it is “meaty” in each bite as how I remembered. The best ingredient to use for this is textured vegetable protein (also known as TVP). TVP is either soy-based or made from vital wheat gluten. It is often bought in dehydrated crumbles and unseasoned. The texture is comparable to chicken and pork once it is rehydrated. In most vegetarian store-bought frozen dumplings, this is a common ingredient already found in the filling. Most grocery stores with an organic or vegan section should carry this. And for the price, it’s much affordable compared to buying soy crumbles or specialty mock-meat products.
So I thought, why not use TVP instead of a mashed tofu or tempeh filling. Overall, the texture of TVP is great and I’ve used it so many times for my non-vegan family and friends to try. None of them of them can tell the difference. The best part is, since it holds no flavor, or any after taste, it absorbs any flavor that you desire.

I give two options in this recipe. The first option, is to use store bought dumpling wrappers to save on time and effort – which will best work for busier days (of if you’re not comfortable enough to handle dough). The second option, is making your dumpling wrappers by hand. Personally, I prefer making my dumpling wrappers homemade to use as it has a softer, chewier texture compared to store bought and it just tastes fresher. But I do understand that it is time consuming and, unless you are the type to make everything from scratch, using store bought wrappers will be just as tasty and much convenient for everyday consumption.
PRO-TIPS BEFORE GETTING STARTED
- Read the recipe instructions fully & carefully.
- Preparation is key. You can save on time by preparing the ingredients beforehand. If you decide to make the wrappers from scratch, you can prep as early as two days in advance or freeze it for later use. You may also prepare your filling the night before to save on time.
- If you cannot find textured vegetable protein (TVP) in your area, vegan soy crumbles will work just fine. Extra firm tofu will also work but you must also drain all excess liquids beforehand before crumbling into pieces.
- Use non-stick trays or line the dumplings on parchment paper. Working with dough and/or boiled dumplings can be s sticky situation. NEVER overcrowd or place the dumplings super close to each as they might stick.
- The use of corn starch or rice flour will help prevent wrappers and dumplings from sticking versus regular flour. Why? Because starch is less likely to absorb through compared to regular white flour.
Vegan Dumplings
Equipment
- Mixing bowls
- whisks
- soup pots and frying pans
- bench scraper
- headstand mixer (optional)
- non-stick trays
- Spatulas
- parchment paper
Ingredients
- 1 pack wonton or dumpling wrapper (see below for handmade version)
- 1 cup (80g) textured vegetable protein (TVP or any vegetable crumble)
- 1 medium carrot pealed & finely chopped
- 1 stalk celery finely chopped
- 4 cloves garlic crushed & minced
- ¼ piece ginger peeled & chopped
- ½ small yellow or white onion chopped
- 2½ tbsp low sodium tamari (or regular low sodium soy sauce)
- 3 tsp brown sugar
- 1 large flax egg or any egg replacer (1 tbsp ground flaxseed + 3 tbsp water)
- 2 tsp sesame oil
- 2 stalks green onions finely sliced
- 2 stems green onions finely sliced
- 1 tsp fresh lemon juice
- salt & pepper to taste
- garlic chili oil (optional to serve)
FOR THE HOMEMADE WRAPPER (OPTIONAL)
- 2 cups (250g) unbleached all purpose flour
- 1½ tsp kosher salt
- 1 cup (125-140g) hot water
- corn starch or rice flour for dusting
Instructions
FOR THE DUMPLINGS
- PREPARE THE INGREDIENTS. Defrost any frozen dumpling wrapper a few hours or the night before. Using a food processor or by hand, pulse (or chop) the carrots and celery into fine, small pieces. Set vegetables aside. Pulse (or chop) garlic, onion, and ginger until it is in fine small pieces. REHYDRATE YOUR TEXTURED VEGETABLE PROTEIN (TVP) according to the package instructions with hot water. Drain out the TVP and squeeze out any liquids. If you are using frozen soy crumbles, you can skip this step. PREPARE THE FLAX EGG (or your egg replacer of choice) by whisking the ingredients in a small sauce dish. Set aside until consistency has thicken.
- PREHEAT A FRYING PAN OR SKILLET. Lightly coat with a tablespoon of any neutral flavored oil. Sauté the aromatics such as the garlic, onions (both yellow and green), and ginger. Season with a pinch of salt and pepper. Mix in the vegetables and sauté for about 3-4 minutes. DO NOT OVERCOOK, the main objective is to open up the flavors of the vegetables. Toss in the TVP into the vegetable mixture until it is all well combined. Turn off the heat. Mix in the seasonings and flavoring ingredients. Season salt & pepper to taste. Place on a mixing bowl to cool down. Add the flax egg into the mixture and fold until ingredients can easily bind.
- ASSEMBLE THE DUMPLINGS. Using one wrapper at a time, add a heaping tablespoon of filling into the center of the wrapper. DO NOT overfill your dumplings. Brush (or using your fingers) coat the first half of the wrapper with water to moisten (and allow the folds to secure). Fold that half over the filling. Secure the center point of the dumpling wrapper. You will be making pleats on each side. Start with (either left or right) and make small folds that should go in the direction towards the center. Do the same for remaining side. Secure the folds and place on a non-stick tray or plate. Repeat this process for all the dumplings.
- COOK. Using a soup pot, boil at least 8 cups or 64 fl oz. of water. Once water is boiled, drop dumplings into the pot to boil for about 4-6 minutes. Do not overcrowd your pot. Strain dumplings and place on a non-stick surface. READ! You can stop the cooking process here and eat it as is. BUT I highly recommend pan frying it to crisp the bottom and edges for a crispier texture. If you desire to pan fry, preheat a skillet to medium high heat and coat with about two tablespoons of oil. Pan fry the flat bottom surface of the dumpling until golden brown and crispy. Carefully turn on each side to brown. IF YOU DESIRE TO RESERVE DUMPLINGS FOR ANOTHER DAY, be sure to store in a large enough container that wil separate the dumplings from touching each other. Freeze and prepare for later use.
- SERVE with garlic chili oil and soy sauce (tamari) for dipping. And green onions for garnish.
FOR THE HOMEMADE DUMPLING WRAPPER (OPTIONAL)
- In a medium sized mixing bowl (heat resistant), toss in flour and salt. Whisk dry ingredients.
- Gradually pour in hot water slowly and carefully mix with a spatula. This is a low hydration dough, meaning dough will be firmer and on a dryer side. Every flour is different and will react differently so it is never suggested to add all liquids at once. If the water is too hot, allow it too cool in the flour mixture before kneading. Using your hands (or a stand mixer), knead the dough until all of flour is hydrated and can all hold together into one ball. Using a clean flat surface, dust with a bit of flour and work the dough. Knead the dough until it is a smooth ball and firm to the touch. Place the dough back into the mixing bowl, cover with a wrap (to trap steam) and let it rest for 30 minutes.
- On a dusted flour surface, divide the dough into 4 equal parts. Roll each dough lengthwise until it forms into a log shape. Then cut each log into 5-6 small equal pieces. Shape each dough pieces into small circles. And cover to avoid drying out.
- Dust dough pieces with a bit of corn starch or rice flour to avoid sticking. Using an empty bottle, cup, or rolling pin – roll out each dough pieces into a thin circle (about a quarter-inch thin). Each wrapper should at least be roughly around 4.5" – 5" inches in diameter. Repeat the process Dust each wrapper with rice flour before stacking on top of each other. ALWAYS cover your dough with a wrap to trap air – this will help prevent it from drying out.
- Store in a reusable bag for later use. Place in the refrigerator for up to 2 days OR freeze if you don't plan to use it anytime soon.
