
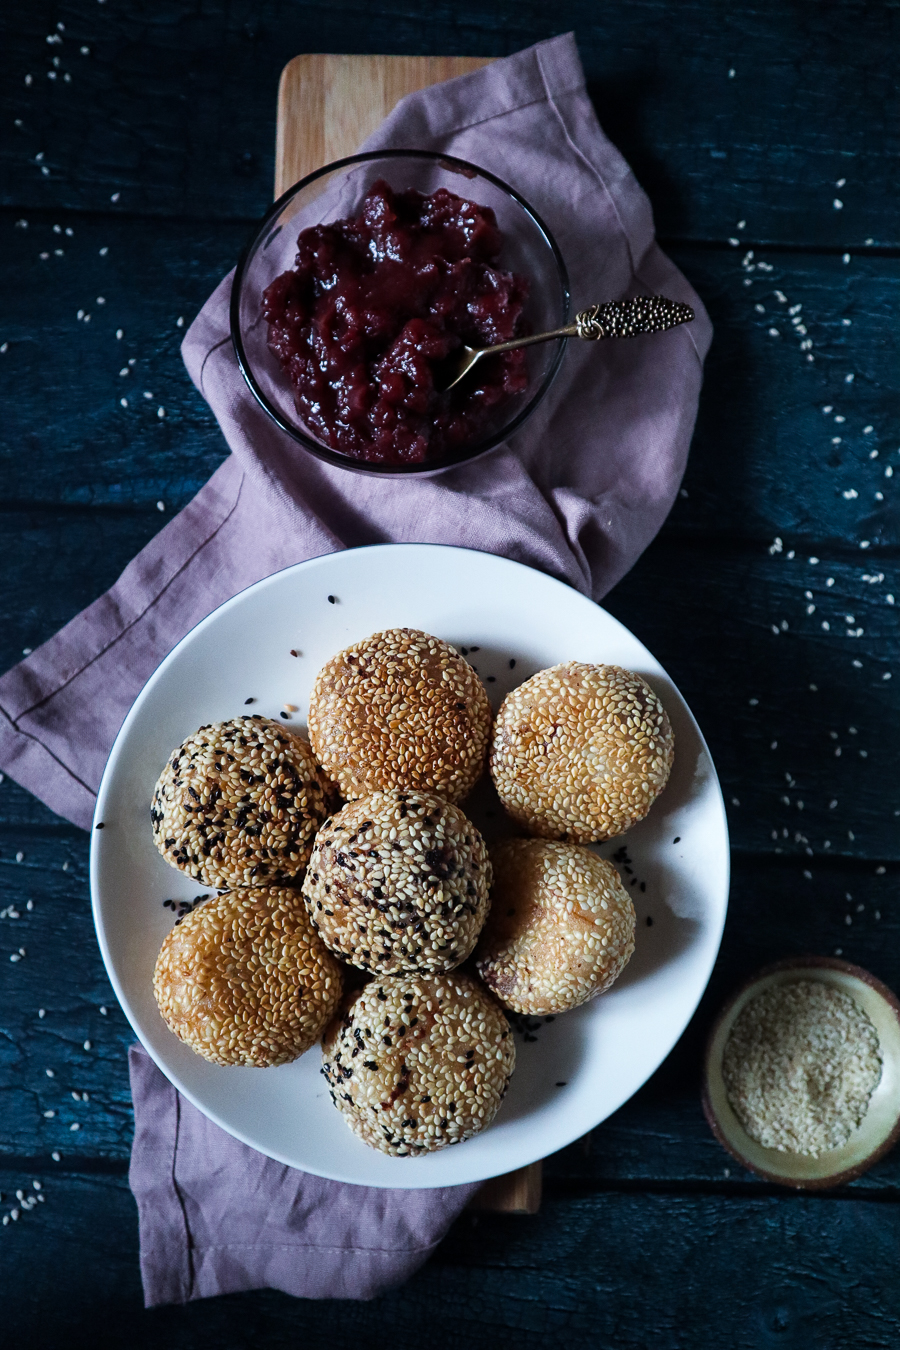
Let’s talk about Buchi (pronounced as boo-chee). Also known as butsi, buchi-buchi, or Jian Dui.
Buchi is a Chinese pastry coated in sesame seeds and fried with a mung bean filling inside. If you have never had buchi before, think Japanese mochi but with a crispy-nutty exterior to contrast with the chewy interior. Like mochi, buchi dough is made from rice flour. So it is safe to say, that yes, this recipe is naturally gluten free. It, also, happens to be naturally vegan as I’ve never had buchi that contained any animal products.
GETTING STARTED
Buchi is a common treat in the Philippines and can be eaten as a snack, side dish, or even a dessert. I’m so glad, that even from where I live (in the island of Guam), buchi is made available in most Chinese restaurants and takeout places. I grew up eating a lot of buchi for the reason that I don’t come from a household that had a strong sweet tooth. We were eating fruits and treats like buchi, hopia (a moon cake flaky pastry with mung bean filling), piaya (Filipino sesame flat bread with a muscovado filling), and yam desserts.
So while, now you know, that I don’t have a strong sweet tooth for that reason – I just wanted to share this fun recipe because I enjoyed creating it.
This treat is sweet but it is also nutty and a little savory. Best served when it is freshly cooked and, when you make it at home, it tastes 10x better!
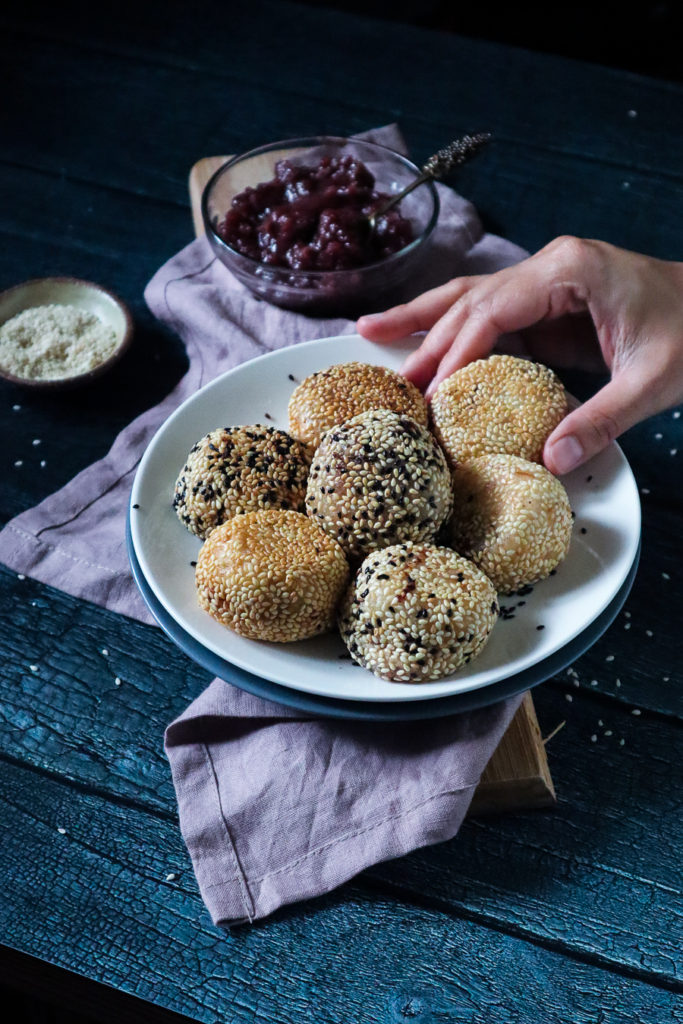
WHAT YOU WILL NEED
- Glutinous rice flour (which will be found in most Asian grocery stores and supermarkets)
- Sweetened red bean paste (also known as adzuki bean, anko, or red mung beans)
- Organic cane sugar (or granulated sugar if you prefer)
- Salt
- Water
- Sesame seeds (color of your choice – I like to mix both because it’s pretty).
- Oil for frying
MAKING YOUR DOUGH
I wanted to create a section for handling rice flour dough because if you’ve never (or aren’t used to handling gluten-free doughs before), it can be a little tricky as it does not contain any gluten structure. In common wheat flour (such as all purpose or bread flour), the gluten formation helps the dough to become more elastic and stretch without tearing easily. Using rice flour, on the other hand, is a whole different story. Do not mistake glutinous with gluten. Glutinous rice just means sweet sticky rice when cooked.
Glutinous rice dough can easily crack and dry out. It is also barely elastic and if you are too rough, it will tear. Here are some top tips to handle the dough when you are making this recipe:
- Having lightly damped hands will help you handle the dough better.
- ALWAYS cover your dough (all throughout the process of making buchi) with a damp kitchen towel.
- Once you’ve formed your dough ball, let it sit covered with a lid or a damp kitchen towel for at least 15-minutes. This will help fully hydrate and “steam” the dough for easier handling.
- When mixing the ingredients to make the dough, DO NOT POUR THE LIQUIDS TO YOUR DRY INGREDIENTS ALL AT ONCE. Different flours will react differently.
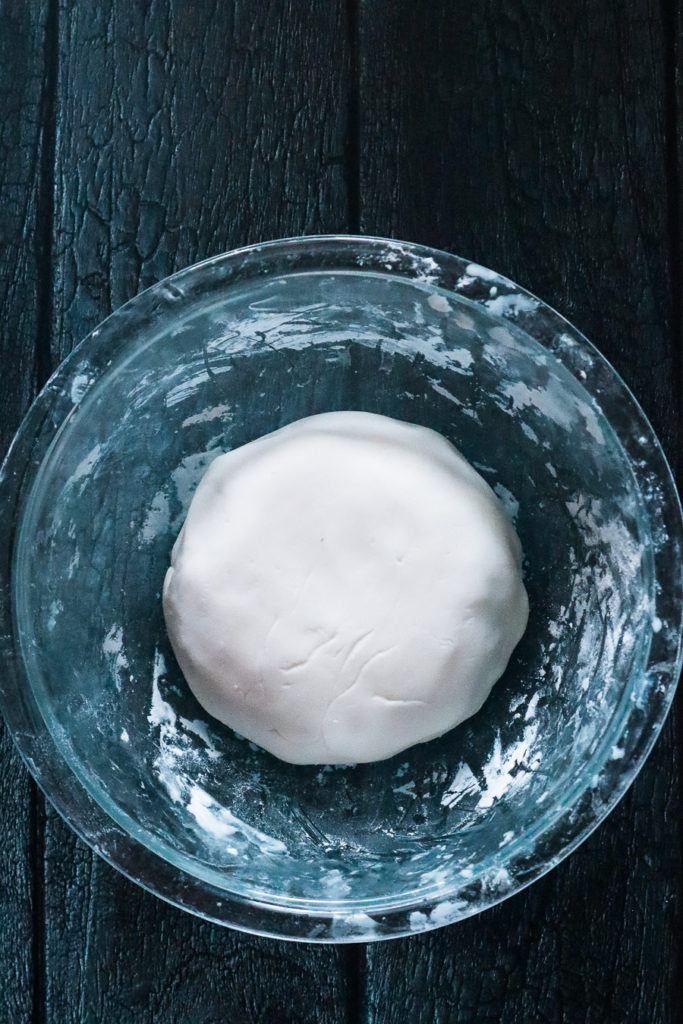
While it is not required, I highly recommend you use a kitchen scale. Not only will you get (almost) the same results as how I’ve made it but you can portion out your dough into equal pieces. Again, this is totally optional. But if you are like me, the little things get the best of me and I love uniformed looking pieces.
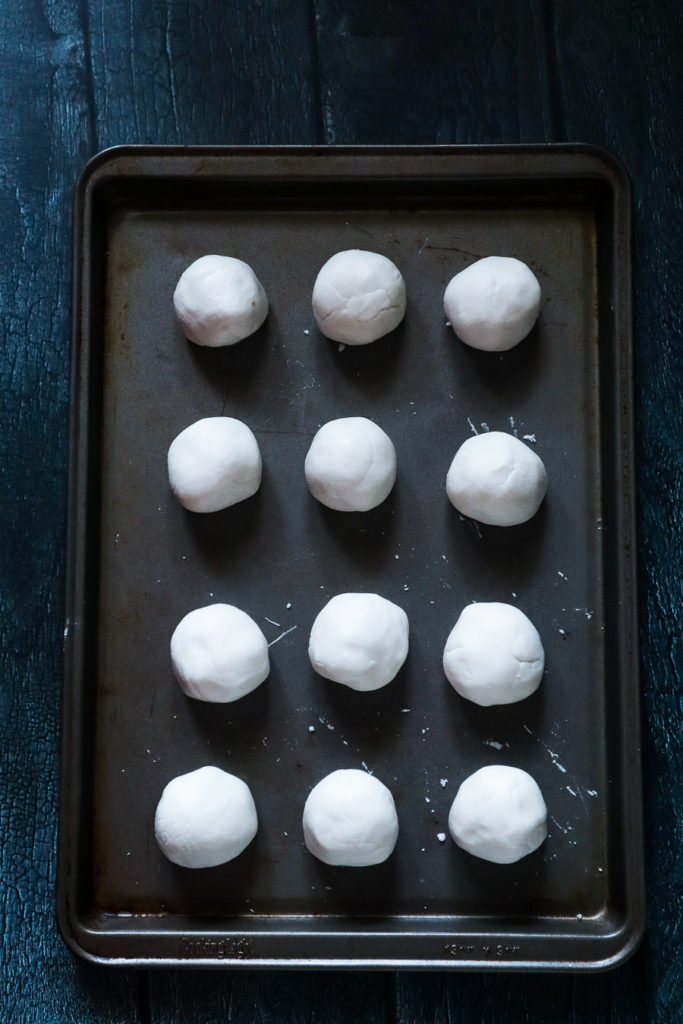
This recipe will yield 12 total pieces.
FILLING THE DOUGH
To repeat, I’ve saved some time by using sweetened red mung bean paste (which I was able to find in Tokyo Mart, Tamuning if you are living on Guam). Most Asian groceries and main supermarkets should carry it but depending on what you find – you may (or may not) have to sweeten your paste according to your liking. You can read on my notes down at the full recipe below for instructions.
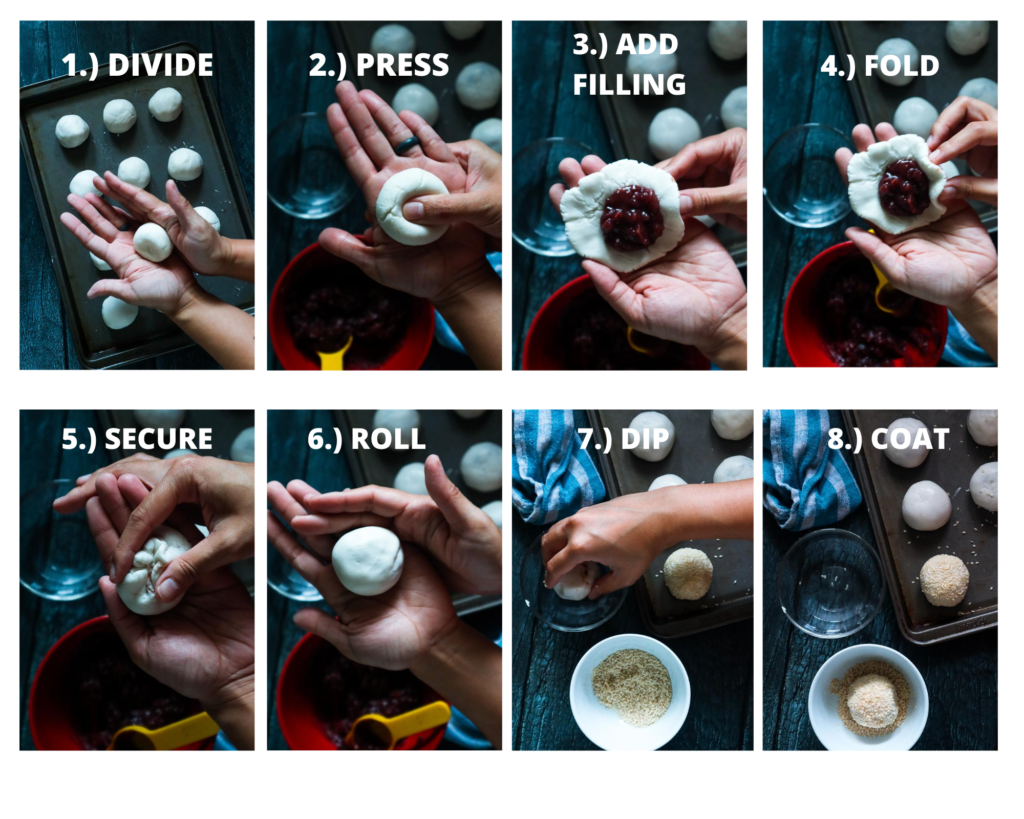
Eight steps to filling your dough with:
- Divide the dough into 12 equal pieces. Pre-shape and roll your dough into a ball.
- Press to flatten each piece.
- Add the bean filling but make sure not to overfill.
- Fold each section.
- Secure into a tight ball.
- Roll to smoothen the surface.
- Lightly dip each piece into water to ensure that the sesame seeds will stick.
- Coat with sesame seeds.
FRYING
Buchi has always been fried and, for this recipe, we will keep it that way. So you will need a deep frying pan or a fryer. As my other recipes that require frying, always monitor the temperature of the oil. I highly recommend you use a candy thermometer to keep tabs on the optimal cooking temperature (which should be between 340° – 360°F).
- Be sure that your oil is fully heated. If you oil is not fully heated, it will result into a very oily finish. And if your oil is too hot, the dough might burst open and the seed exterior will burn easily.
- Fry on each side until it is golden brown and has a crispy exterior.
- Allow the fried buchi to cool on a wire or cooling rack so that it does not get soggy on the bottom.
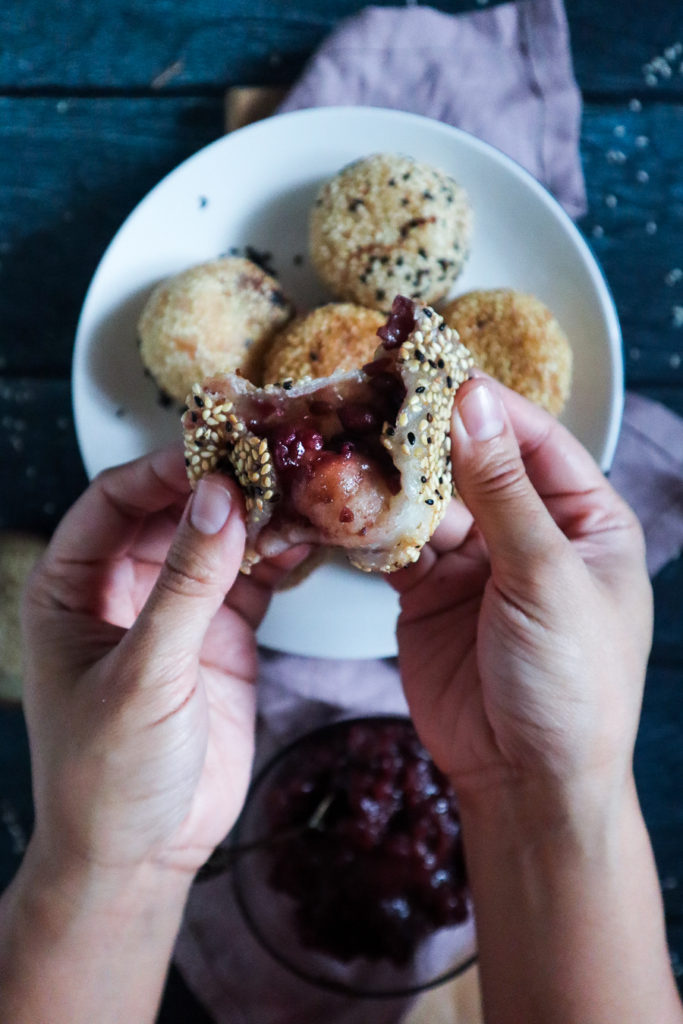
Give this recipe a try and if you like what you see, please help me by liking this recipe or adding a comment in the comment box down below. Subscribe to my mailing list for exclusive newsletters. Follow me on Instagram and don’t forget to tag me when you create the recipes.
Buchi (Sesame Seed Balls)
Equipment
- kitchen scale (optional but highly recommended)
- Mixing bowls
- Spatula
- deep fry pan
- sauce pan
- kitchen towel (damp)
- cooling rack
- measuring spoons
- candy thermometer (optional)
Ingredients
- 2 cups (283g) glutinous rice flour
- 1⅓ cups (400g) sweetened red bean paste chilled (see notes)
- 1 cup (250g) water
- 1 tsp kosher salt (sub ½ tsp for fine regular salt)
- ½ cup (220g) organic cane sugar
- 1-2 cups oil for frying
- sesame seeds for coating
Instructions
DOUGH PREPARATION
- Using a sauce pan, heat a cup of water to boil on a stove top in medium heat. Once the water has boiled, turn off the heat. Dilute sugar into the boiling water and stir until well combined. Let it sit for about 3-5 minutes.
- In a mixing bowl, whisk rice flour and salt together. Using a spatula, dig a shallow well into the center of the flour mixture. Gradually pour half of the sugar water little by little. Do not pour the water all at once. Stir dry and liquid ingredients together (using your hand to mix to make a dough may be necessary). Massage the flour and water mixture to make sure all the dry spots are hydrated. If your dough still falls apart, add a tablespoon of water at a time.Knead until it forms a smooth ball of dough.
- Allow your dough to rest for 15 minutes before handling. Cover with a damp kitchen towel from prevent it from drying out.
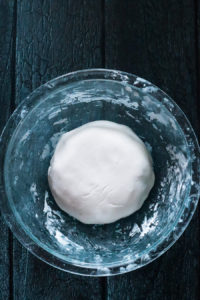
- Once you've allowed your dough to rest, divide it to twelve (12) equal pieces. You can eyeball the size to the best of your ability. If you are precise, using a kitchen scale, weigh in the total of the dough. Then divide that weight to twelve (12). Each of my pieces, for example, rounded to 45g each. These should give the perfect snack bite pieces. Cover with a damp kitchen towel to prevent it from drying out.
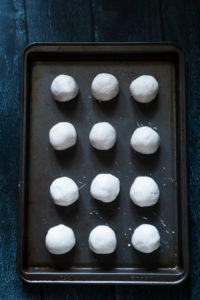
BUCHI ASSEMBLY
- Prepare the red bean paste (see notes)
- Using slightly damp hands, gently press each piece of dough to flatten. You do not need to flatten the dough super thin (which is not recommended because it will crack). Just spread it enough to make space for the filling.
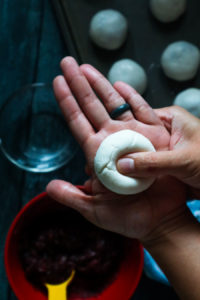
- Fill the dough with red bean paste. Amount of paste is up to you, however, do not overfill the dough as it will be harder to secure the folds and will create a mess. For your reference, I was able to fill (more or less) half a tablespoon on each piece. Slowly fold each section of the dough.
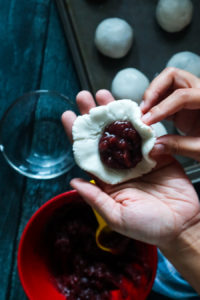
- Gently secure the fold into a ball. This might be a little challenging if you are not used to handling gluten free dough. In comparison to the commonly used wheat dough, there is a gluten build up that allows the dough to be elastic and strech without tearing (making it easier to handle). For the rice dough, because there is no gluten build up, it can crack easily if you are not careful. To make it easier, use slightly damp fingertips as you secure. Be sure that there are no unwanted cracks or opening as dough might burst when frying.
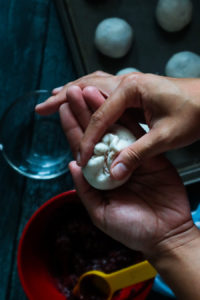
- Gently roll the filled dough on the palm of your hands until surface is smooth and forms an even circle. It doesn't necessarily have to be perfect but as long as it is as smooth and secured as it can get. Repeat process on each piece.
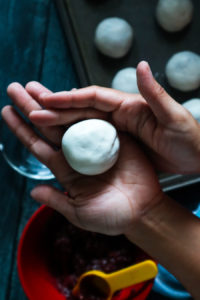
- Lightly dip each dough ball into water on all sides. This is so that the sesame seeds are able to stick onto the dough.
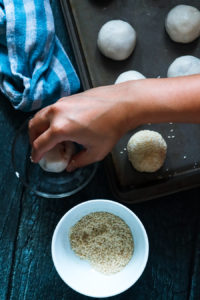
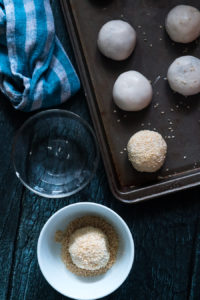
- Coat each piece evenly with sesame seeds.
FRYING INSTRUCTIONS
- Prepare deep frying pan on a stove top and preheat to medium hight heat. Pour about 1-2 cups of cooking oil OR at least 1 inch deep on the pan. You can dip a skewer or chopstick to determine if oil is ready. If it bubbles naturally, it means it is ready. If it bubbles aggressively, it means oil is too hot and you will have to lower it down again before using.If you have candy thermometer, optimum frying temperature would be between 340°F – 360°F.
- Drop each sesame ball into the oil. Do not overcrowd the pan, work in batches if needed. Fry until each side are golden brown and crisp. This should take about 4-7 minutes depending on your stove top.
- Strain from the oil. Let the sesame ball cool on a cooling rack. Best served while it is still fresh and hot.
- Enjoy!

Notes
