
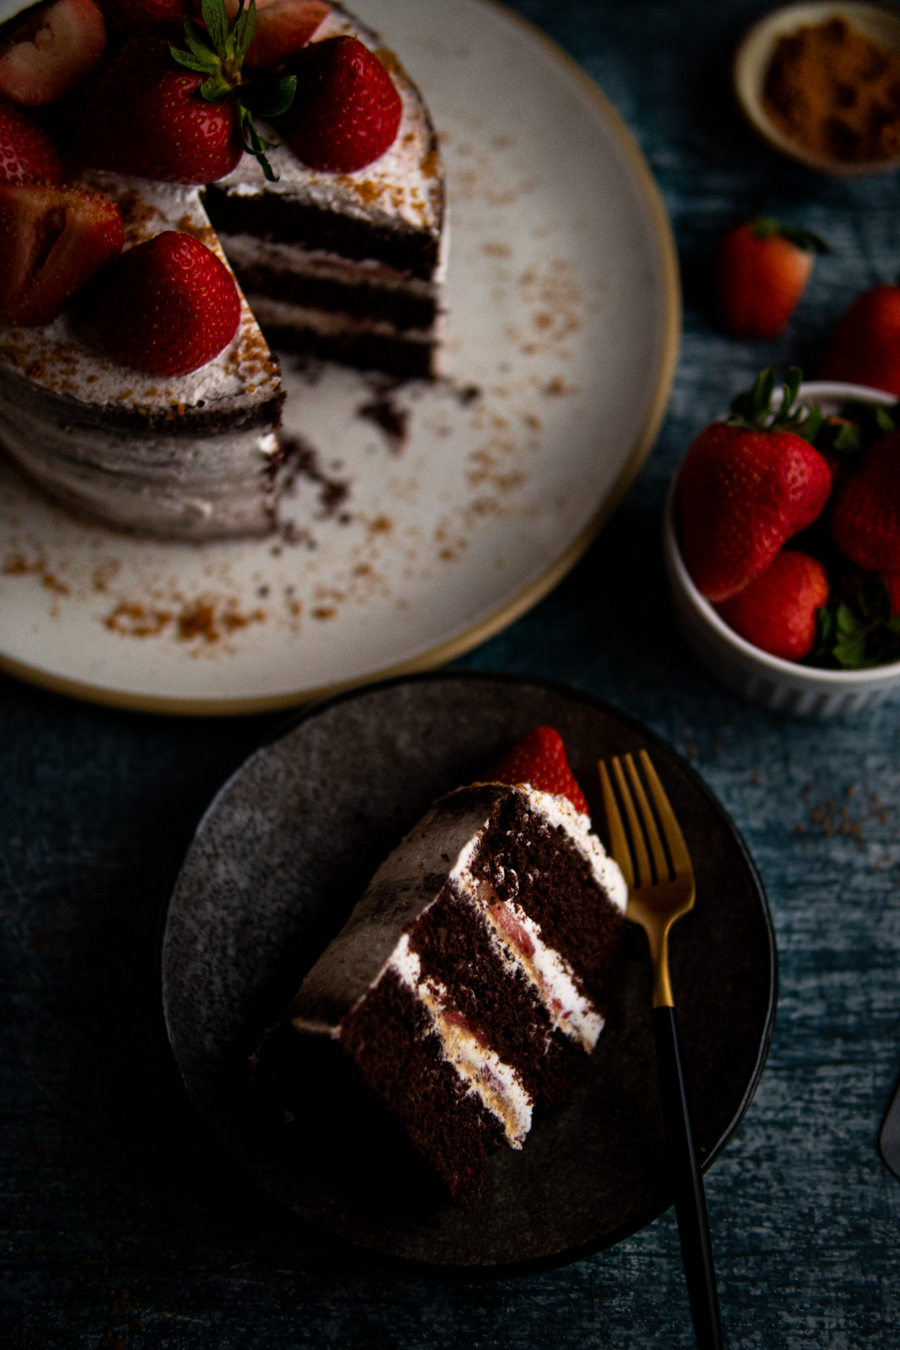
Ah, February! The month of love. Quite frankly, this is the least romantic season (of them all). I feel, as if, majority of what Valentine’s Day is mainly marketing. Marketing, in terms, selling overpriced flowers and chocolates to gift a significant other or loved one. Romance, to me, is in the gestures and efforts one makes on non-occasional days to make mundane moments, well, special. My love language is in the act of service. Or so, my husband is for certain of. I appreciate moments the most when I am either doing something for him (my husband) or others and when they reciprocate the same efforts back to me. To me, nothing says ‘I love you’ more than having the dishes washed after a long day of recipe testing or being able to cook for the people that I love.
My parents were the same way, and to this, I realize where I get my love language from. Being Filipino, or Asian in general, it was very rare for them to express love in words or affection. It was, rather, seen through gestures and what they provide for you. For example, my mom waking up early in the morning to prepare me a good Filipino lunch for school (like adobo or menudo) and pack me complete snacks to go with it. Though, she would shy away from saying she is proud of me, I knew it was in her efforts that expressed it. Before my husband, I was the least expressive with my feelings. Perhaps, I am still the same way. But I love to cook and bring people together with food. I don’t always show it, but when I spend hours making an effort to bring a wonderful dish – I truly care for you.
So I’ll bake a cake for myself and my husband on Valentine’s Day. As my way to express love.
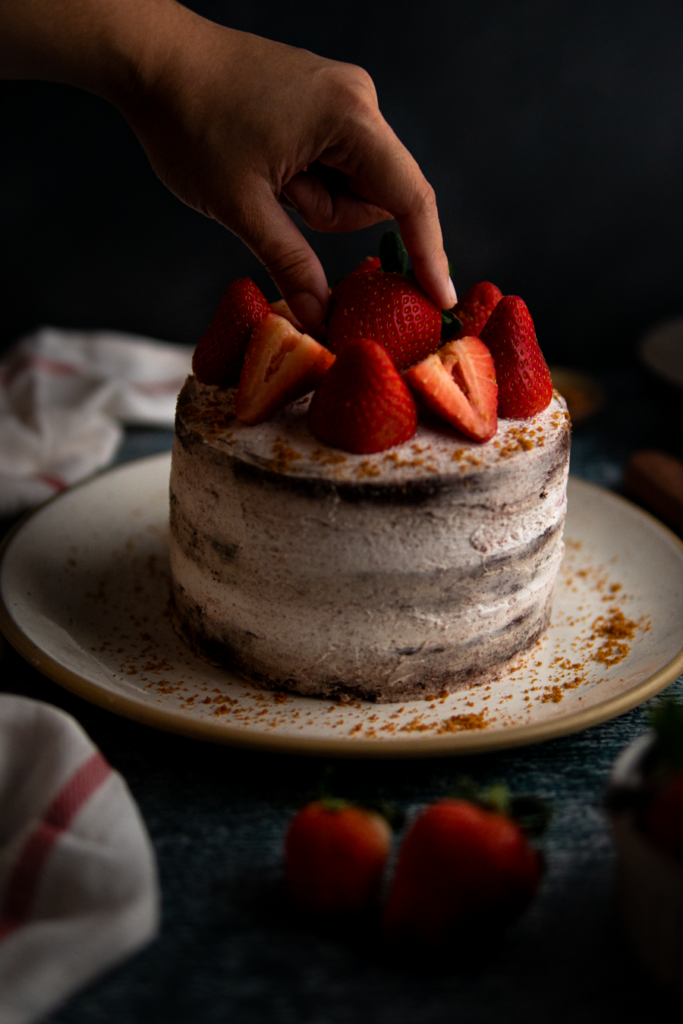
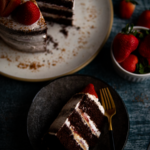
VEGAN CHOCOLATE STRAWBERRY COOKIE CAKE
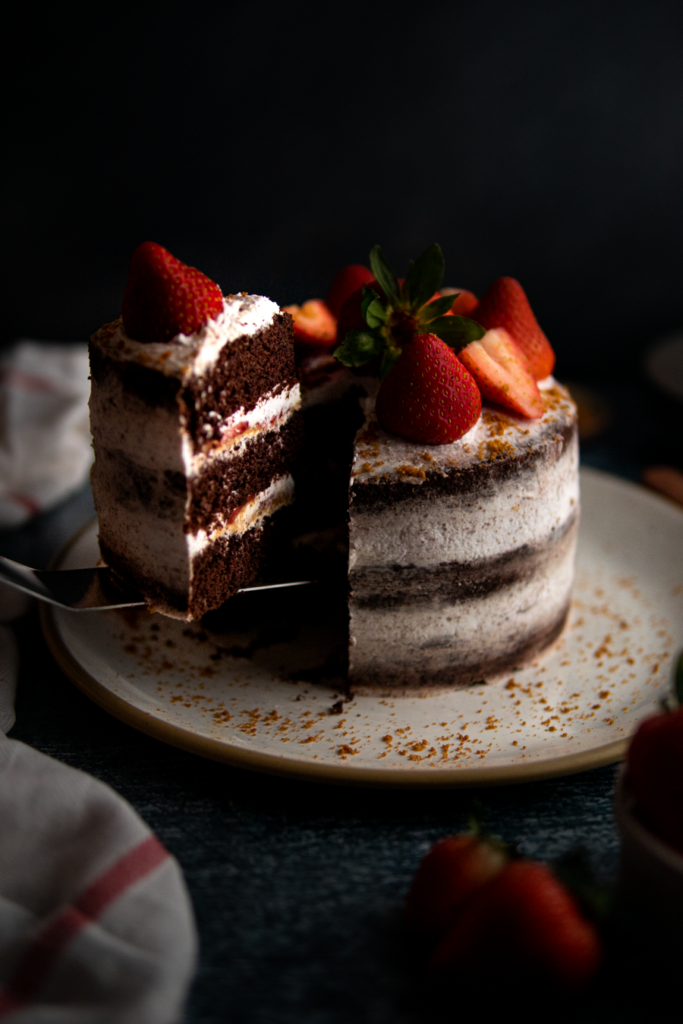
I’m going to be honest, I did not know how to title this recipe! This cake has many layers of flavors, that it will swoon your taste palette. Making it a very romantic dessert with very simple ingredients. Starting off with a rich chocolate cake, that is not only decadent but fluffy and moist. Secondly, the use of a coconut whipped cream, giving it a subtle sweetness and creaminess. Thirdly, the use of Lotus Biscoff cookie crumbles for an added caramel, cinnamon crunch flavors. And lastly, topping each layer with fresh strawberries to give it that last touch of elegance from fruits.
I don’t say this often about cakes. This layered cake is everything I love about a cake. It has layers of flavors into it. A true experience that you will need to try for yourself. I would best describe it as delicate as a Japanese Strawberry shortcake but bold with a dark chocolate base as the cake.
GETTING STARTED
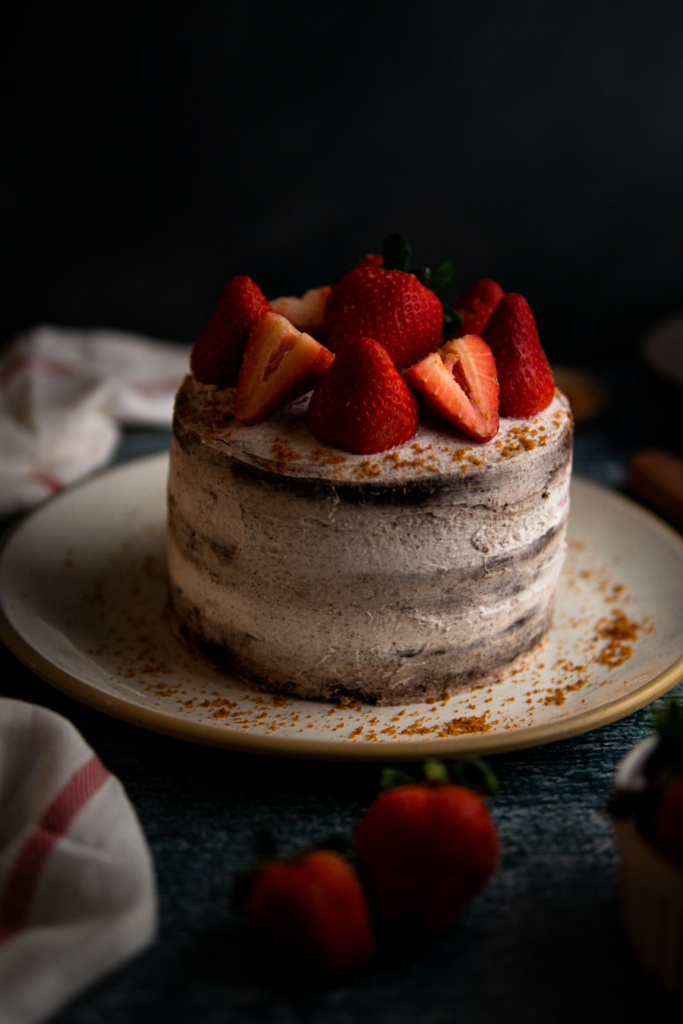
I would like to begin by saying, the ingredients in this cake are fairly simple. You may (or may not) have majority of the ingredients lying around inside your pantry already. If not, it will be very easy to find. What may seem intimidating is in the technique of the cake. However, this will all depend on you. You have a choice to either create this recipe in layers as how I’ve presented it (for the true experience) or create a single layered cake that require less work.
Before getting started, I highly recommend you check out Erin McDowell’s How To Make Layer Cakes video tutorial, to best explain the process.
The first things you will need, and I cannot express enough when making making cakes, are the following tools / equipment:
- Kitchen scale – for accurate measurements of this recipe to get the same consistency as I did. I did provide cup measurements if you do not own one.
- 6″ cake pans – to make three layer cakes. This is a small cake, perfect for a small household or intimate occasions. You can use an 8″ or 10″ cake pan as well, but they will be in a single layer (you can also cut in half).
- Parchment paper – to ensure your cake does not stick to the pan.
- Offset and rubber spatulas & bench scraper– I like to use a small and medium sized one. This helps with frosting the cake and leaving to batter residue behind. It will also help smooth out any surfaces.
- Headstand mixer OR electric headstand mixer – You will need this to whip up butter and cream, which are crucial steps to make this recipe.
- Sharp serrated knife – to slice off any dome or uneven exterior of the cake.
- Cake turntable – This is (more optional) than it is required. I do find it helpful so that you can easily frost your cake without having to constantly turn your serving plate around.
WHAT MAKES THIS CAKE DIFFERENT?
Great question. Apart from it being eggless and dairy free, I made sure it was in the technique of the cake. No need for egg replacers or fancy ingredients but more on how it is made.
Here are some techniques you may find important:
- Beating the butter, sugar, and oil – which will call for a light and airy cake. Whipping butter and sugar together is seen in methods for shortbread cookies / biscuits. Since we are not using eggs, adding oil helps with achieving a moist cake.
- Adding black coffee – not for the flavor but to enhance the chocolate cake. Bakers would also use instant espresso powder but adding an extra form of liquid gives more moisture, overall.
- Using vegan “buttermilk” – instead of yogurt or sour cream. It is subtle in flavor and, in terms of texture and density, it will make the cake feel lighter.
- Dutch-Process Cocoa over regular cocoa powder – to give it that decadent flavor of chocolate. It is richer and more indulging.
- Lotus Biscoff Cookies – This, overall, will set it apart from most chocolate and strawberry cakes. Because of the caramel and cinnamon flavors, it will give this cake an extra depth (and complexity). Who doesn’t like crushed cookies inside a cake? Trust me, don’t skip out on this one.
CAKE PRO-TIPS
- Flour (kind of matters) – For vegan cakes, I highly recommend lighter, soft wheat flours. I find that White Lily Flour All Purpose works best in cakes as it is very soft and delicate, giving it a fluffier texture overall. Next to this option is this Korean unbleached Wheat Flour called Beskul All Purpose which I recommend for cakes, cookies, and pastries that don’t require a lot of gluten development. This, of course, is optional. If you don’t have these on hand or would rather not spend for it just to make cakes – any all purpose flour will work just fine. As long as you sift your flour.
- Make the cake in advance! Making a layered cake is a labor of love and does require multiple steps. I highly recommend making your cake the night before (or a few hours in advance) before assembling. Not only will this save you time, but you will work with a much firmer cake so that it’s easier to handle. Freshly baked cakes tends to be more tender and will crumble faster.
YOU MAY ALSO ENJOY THESE RECIPES:
Give this recipe a try and if you like what you see, please help me by liking this recipe or adding a comment in the comment box down below. Follow me on Instagram and don’t forget to tag me when you create recipes!
Vegan Chocolate Strawberry Cookie Cake
Equipment
- (3) 6" cake pans Or single 8-10" cake pan
- parchment paper
- sieve
- offset spatulas
- rubber spatula & whisks
- headstand mixer or electric hand mixer
- large mixing bowls
- measuring cups or food scale
- sharp serrated knife
- cooling rack
- bench scraper
- cake turntable (optional)
- serving plate
Ingredients
FOR THE CHOCOLATE CAKE
- 315 g (2 cups) all purpose flour sifted
- 45 g (½ cup) Dutch-Process cocoa powder sifted
- 16 g (2 tbsp) corn starch sifted
- ½ tsp baking soda sifted
- 8 g (3 tsp) baking powder sifted
- 3 g (1 tsp) salt
- 60 g (¼ cup) strong black coffee see notes
- 360 g (1½ cup) plain unsweetened plant milk (I used soy)
- 12 g (1 tbsp) apple cider vinegar
- 5 g (½ tbsp) pure vanilla extract
- 42 g (¼ cup) vegetable or canola oil
- 170 g (½ cup + 4 tbsp) vegan butter softened to room temperature
- 200 g (1 cup) granulated sugar
FOR THE WHIPPED CREAM
- 14 fl oz (2 cans) coconut cream chilled
- 60 g (¼ cup) powdered sugar sifted
- 5 g (½ tbsp) pure vanilla extract
FOR THE CAKE TOPPING
- 1 lb (16oz) fresh strawberries sliced
- ¾ cup Lotus Biscoff cookies crushed or grinded
Instructions
FOR THE CHOCOLATE CAKE
- Preheat your oven to 350°F (176°c)
- Prepare the (3) 6" cake pans and line each with parchment paper.
- Using a mixing bowl – combine flour, cocoa powder, baking soda, baking powder, corn starch, and salt. Whisk together until well combined.
- In a bowl or measuring cup, pour liquid ingredients together such as the milk, apple cider vinegar, and coffee together. Whisk thoroughly and set aside.
- In a large mixing bowl & using an electric hand mixer or headstand mixer, add the softened butter, sugar, and vanilla. Beat on high speed until it reaches its soft fluffy peaks. This will usually take between 3-5 minutes. You will know it is finished beating when it is nice and airy.
- Add the dry ingredients to the whipped butter mixture and oil. Beat together until it is well combined. Then, gradually add liquid ingredients as you mix. The batter will slightly looked curdled or clumpy, which is okay. Keep mixing until all ingredients are well incorporated.
- Do not overmix the the batter. Just enough until the dry spots have fully dissolved (or have been hydrated). This is a wet batter, so it should look runny but not too thin.
- Prepare your lined cake pans. Evenly divide cake batter to each cake pans. You can also measure the total weight of you cake batter and divide by 3 to get an even amount to each pan (but this is optional).
- Bake in the oven for 30 – 45 minutes depending on your oven, or until a toothpick runs clear.
- Remove cakes from the oven and allow it to cool for about 5 minutes. Then, remove from the pans / parchment paper and allow to cool on a cooling rack completely. Do not let your cake sit in the pans to cool, as it may cause your cake to stick on the pans.
- Be sure to allow your cakes to cool down for at least an hour before handling. This way, cake is firmer and easier to handle. You may also prepare the cake the night before, wrap it, and assemble it the next morning.
FOR THE WHIPPED CREAM
- Chill canned coconut cream in the fridge for at least 4-6 hours OR overnight. Do NOT shake the can as we will need the solid cream and liquid to separate.
- Open canned coconut cream. Scoop out ONLY the solidified part of the coconut cream and into a large mixing bowl. Do not include the liquids.
- Sift in powdered sugar with the coconut cream.
- Add vanilla extract.
- Beat the cream mixture for 3-5 minutes until it is smooth and reaches its soft peaks. It should look smooth and airy. Be sure to keep the cream cool. If you feel it is softening or melting, let it chill in the fridge (or freezer) for 15 minutes.
CAKE ASSEMBLY
- Prepare ingredients such as thinly sliced strawberries and crushed/finely coursed Biscoff cookies.
- Place the cakes on a clean flat surface. If you've noticed that your cakes has developed a dome (or uneven crackly top), use a large serrated knife to remove the dome and level out so that the cakes will have a flat surface. This is an important step if you want to have even layers on a cake. You can check out this very informative tutorial by Erin McDowell on how to prepare the cake layers & leveling out a cake on Food 52. Click here.
- Then, place the first cake on a serving plate (I like to place a serving plate on top of a cake turn table, so that it is easier to frost a cake).
- Using an offset spatula, evenly spread about ⅓ cup of whipped coconut cream on the first layer of cake. If you have turntable, spin as you spread the cream on the cake and use it as your guide. Having gentle hands is key as the cakes are delicate.Spread cream all throughout the cake.
- Top a generous amount of crushed cookies into an even layer. Then, place & secure strawberries on top to cover the first layer – you want strawberries in every bite. Then spread another layer of cream (about ¼ cup) on top of the strawberries, do your best to even out the spread.
- Evenly stack the second cake on top and repeat the process as you did on the first layer.
- Finally, top the cake with the remaining layer and add the remaining cream to frost the entire cake. Use an offset spatula and bench scraper to smooth out the edges. Again, you may refer to this video for reference.
- Top the cake with fresh strawberries before serving and sprinkle with the crushed Biscoff cookies on top of the cake.
- Cake should always be chilled in the fridge due to the coconut cream. Store in a large air-tight container for 2-3 days.
Notes
- Flour (kind of matters) – For vegan cakes, I highly recommend lighter, soft wheat flours. I find that White Lily Flour All Purpose works best in cakes as it is very soft and delicate, giving it a fluffier texture overall. Next to this option is this Korean unbleached Wheat Flour called Beskul All Purpose which I recommend for cakes, cookies, and pastries that don’t require a lot of gluten development. This, of course, is optional. If you don’t have these on hand or would rather not spend for it just to make cakes – any all purpose flour will work just fine. As long as you sift your flour.
- Use coffee in your batter – For the black coffee ingredient, I mixed 1/4 cup of hot water + 1 tbsp of Folgers instant coffee granules. This will not give your cake a coffee flavor, it will just enhance the flavor of chocolate, overall.
- Make the cake in advance! Making a layered cake is a labor of love and does require multiple steps. I highly recommend making your cake the night before (or a few hours in advance) before assembling. Not only will this save you time, but you will work with a much firmer cake so that it’s easier to handle. Freshly baked cakes tends to be more tender and will crumble faster.
