

If there is one kind of cookie that I would recommend for all the beginner-bakers and non-bakers (but makes an effort to bake during special occasions), I would highly recommend making these classic cookie treats – known as Sandies.
At least that is what we call Snowball Cookies on Guam.

As simple as these cookies are, they seem to have a lot of names – Mexican Wedding Cookies, Snowball Cookies, Noel Cookies, Russian Tea Cakes, Butter Balls…the list goes on. I’ll try not to overcomplicate it and call them as how I’ve known them for years. And, quite frankly, it’s not about the name that matters – it is about how the cookies taste. And these cookies, are highly – I mean, HIGHLY – addicting.
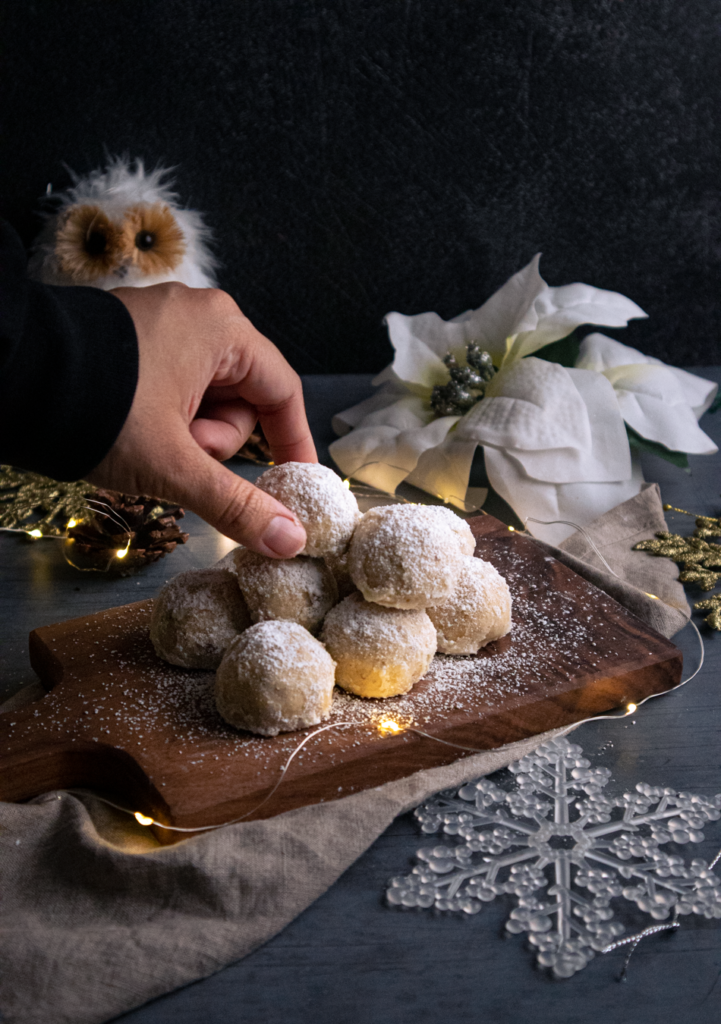
Sandies are the easiest cookies to make, in my opinion. There is no (other) better cookie to make when it requires minimal ingredients and effort. The most work you will ever need to do is waiting for the cookies to set and forming the cookie dough into tiny snowballs – that’s basically it. Everything else is dumping ingredients into a mixing bowl.

I love really good Sandies! Especially when they have the perfect buttery and nutty flavor to the cookie. Buttery, nutty, crunchy, it melts in your mouth, and not overtly dry or sweet. I made sure that these live up to my expectations (and, yes, I have tested giving these out to my family and coworkers) and it passed with flying colors! Thank goodness!!!
Now it’s your turn to make these delicious treats. They are super comforting and I hope you enjoy them with your dear loved ones.
Baking Tips for the Perfect Sandies
- Allow your cookie dough to chill at least 30 minutes – 1 hour beforehand. Even if dough looks like it is manageable to work with straight from combining all ingredients together, allowing the butter and flour chill in the fridge completely will help the cookie keep its shape in the oven (to avoid any spreading while baking). Time also equals flavor, the longer it sits, the more flavors it absorbs.
- Coat your baked cookies with a single layer of powdered sugar just ten minutes after baking. This will give a sticky layer of dissolved sugar on the cookies; which will help bind the rest of the powdered sugar later (when it is fully cooled down). The “dissolved” layer will also give that “melt-in-your-mouth” effect.
- Toast your nut ingredients for at least five minutes in the oven beforehand. Toasting nuts will allow its natural oils to release and give your cookies a better flavor overall.
- Cookie dough will look crumby and loose, do not add any liquids. Gradually add flour onto the mixture at least half a cup at a time until to avoid a dry dough.
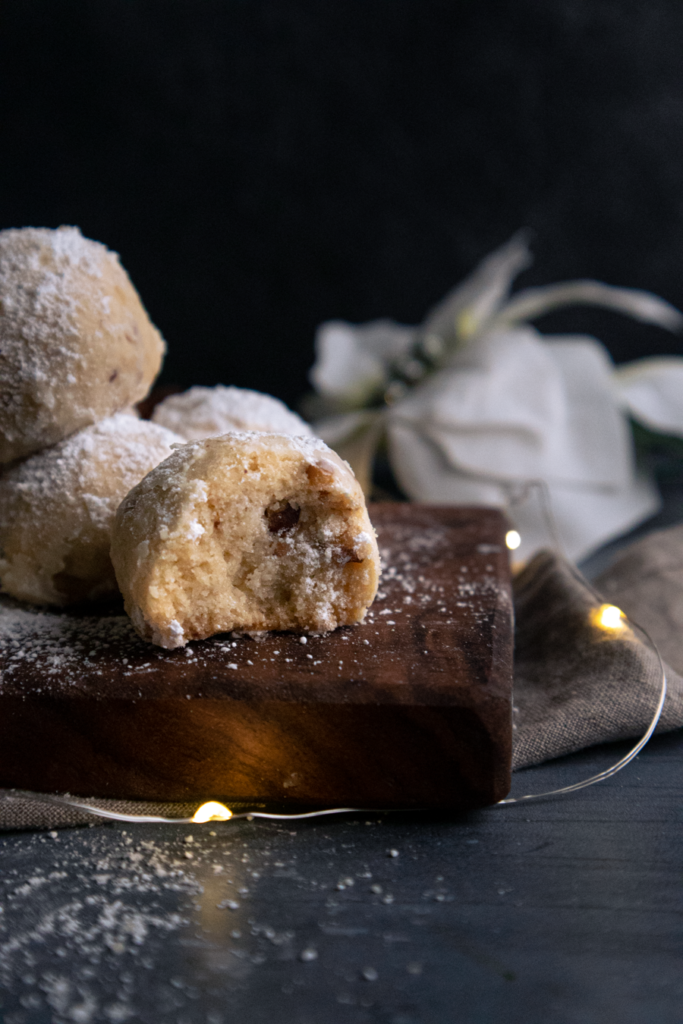


Vegan Sandies (Melt-In-Your-Mouth Snowball Cookies)
Equipment
- Small or medium sized cookie scoop (or a tablespoon)
- Headstand mixer or hand mixer
- Spatulas
Ingredients
- 2 cups (240g) all purpose flour
- 12 tbsp unsalted vegan butter, room temperature or 1½ block Earth Balance
- ¼ cup (50g) granulated sugar
- ½ cup (65g) toasted walnuts finely chopped (see notes)
- ½ tsp kosher salt
- 1 tsp vanilla extract
- 1 cup (125g) powdered sugar for coating
Instructions
- In a mixing bowl, beat the butter to medium speed (or mix by hand) until it is light and creamy, almost like a frosting consistency.
- While the butter is still beating, stir in the granulated sugar and vanilla into the batter. Mix until well combined. Add in the walnuts, kosher salt, and mix until well combined as well.
- Start gradually adding flour into the batter, at least ½ cup at a time and mix. Protein content of every flour is different, to avoid using too much flour and getting dry results, never dump flour all at once. Continue to add flour to the mixture and combine.You will know if the cookie dough is done when it is crumbly (resembling a loose cookie crumb) and when you try to form a small ball of dough with your hands, it is able to bind together.
- Allow the cookie dough chill for at least 30 minutes – 1 hour before shaping into balls. You can also leave the dough overnight covered in the fridge overnight. This will help your cookie dough absorb the flour and allow the butter to chill completely for better handling when it's time to shape. Allowing your cookie dough to chill in the fridge would also help prevent your cookies from spreading flat in the oven when it's baking.
- Preheat oven to 350 degrees Fahrenheit.
- Line a parchment paper on a baking tray and start forming cookie balls with a small or medium cookie scooper that is equivalent to (more or less) a tablespoon. If you don't have a cookie scoop, you can use a tablespoon to measure out your cookie ball. If the dough is very loose with the crumbs, press it in between your palms until it binds together. Once it binds, form it into a ball. Repeat the process on each ball. In any case you feel that the butter is softening or melting, pop the dough back into the fridge and allow it to chill for at least 20 minutes before molding again.
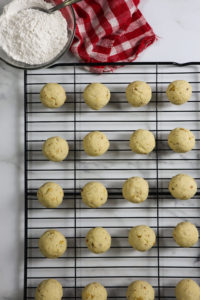
- Bake the cookies for about 25-30 minutes depending on your oven or until bottom has a light golden brown color and the top is slightly crisp and firm.
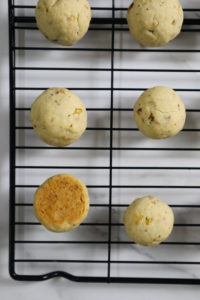
- Give the cookies 10 minutes to cool down. Coat each cookie a layer of powdered sugar and and allow the cookies to cool down completely for another 15-20 minutes. This will allow the powder texture dissolve into the cookie, giving it a sticky consistency, that will help with keeping the powdered sugar on the cookie later on.Sift a generous amount of powdered sugar until fully coated once it has cooled down completely.
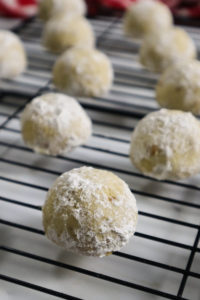
- Serve and enjoy! Keep cookies in a cool area for up to 3-4 days.
Notes
