
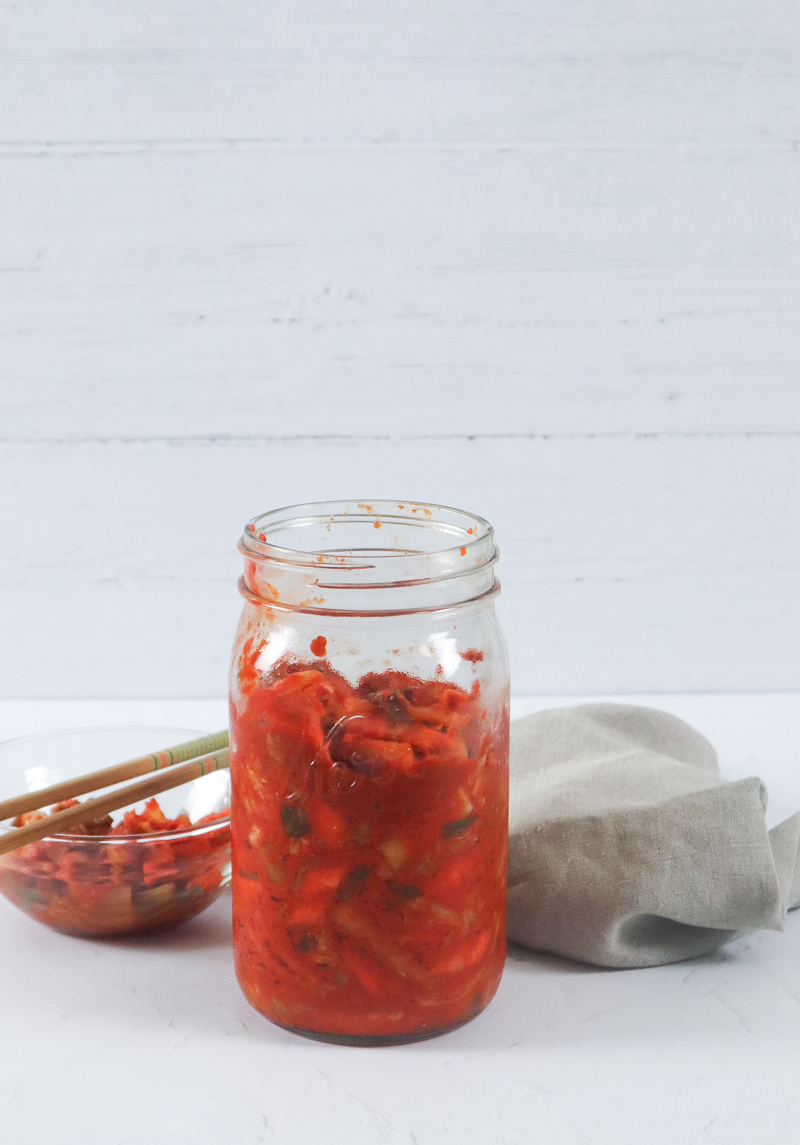
Kimchi (김치) is a popular Korean fermented dish that a lot have grown to love. I, personally, love eating kimchi as a side with (basically) anything. It is one of my favorite staples in the kitchen because possibilities of using this side dish for recipes are absolutely endless. Stews, fried rice, pancakes, stir fry, and so much more!
The process of making kimchi may seem a bit intimidating. Which, at first, I thought so too. The flaming red color and knowing that it is fermented just seemed too tedious. But the truth is, it’s absolutely easy. Yes, there are several steps but most will take no more than 10 minutes to do. If not, even less.
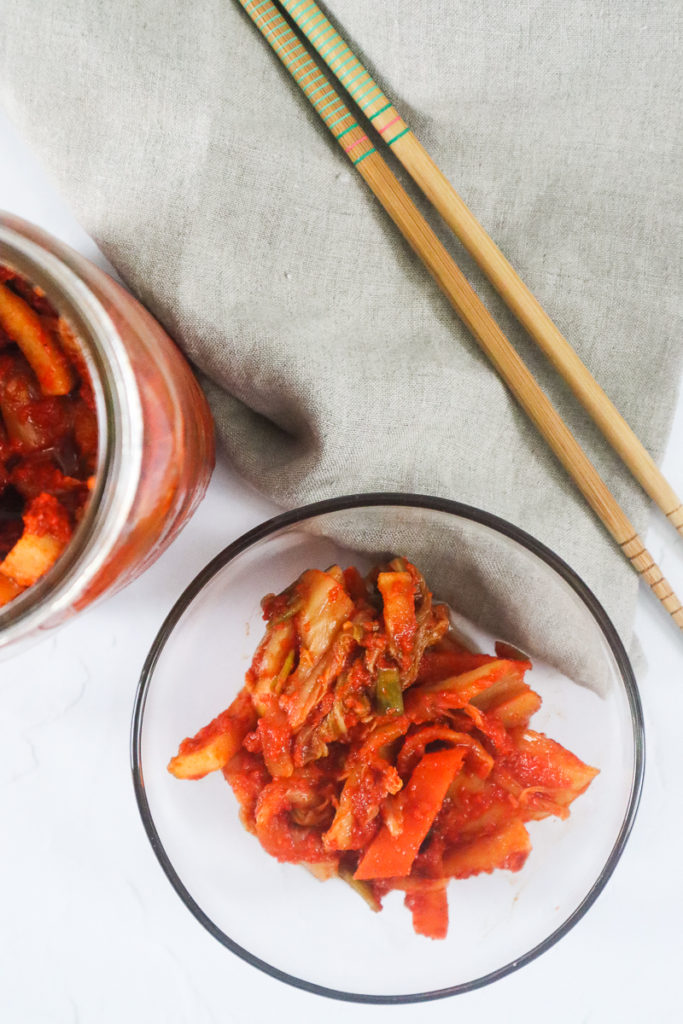
Kimchi, if we take it back to the beginning, was made for survival during the winter time. That in order to preserve their vegetables, they used the method of salting, basically anything they can and placed in giant clay potteries, for food preservation when temperatures are harsh for any other stock or crops. For centuries, it’s also been a method for digestive aid so that they are able to break down grains such as barley and millet – before rice has been introduced.
Today, kimchi is still a great aid for probiotics and source of immunity boost. Not, only that, but kimchi has high antioxidants that can help fight and prevent chronic heart diseases, lower down cholesterol, and also, help with weight maintenance. It is no wonder that kimchi has been the hype with health and fitness enthusiasts, even popular personalities. Hyped or not, it is definitely tasty and I recommend you not skipping it.
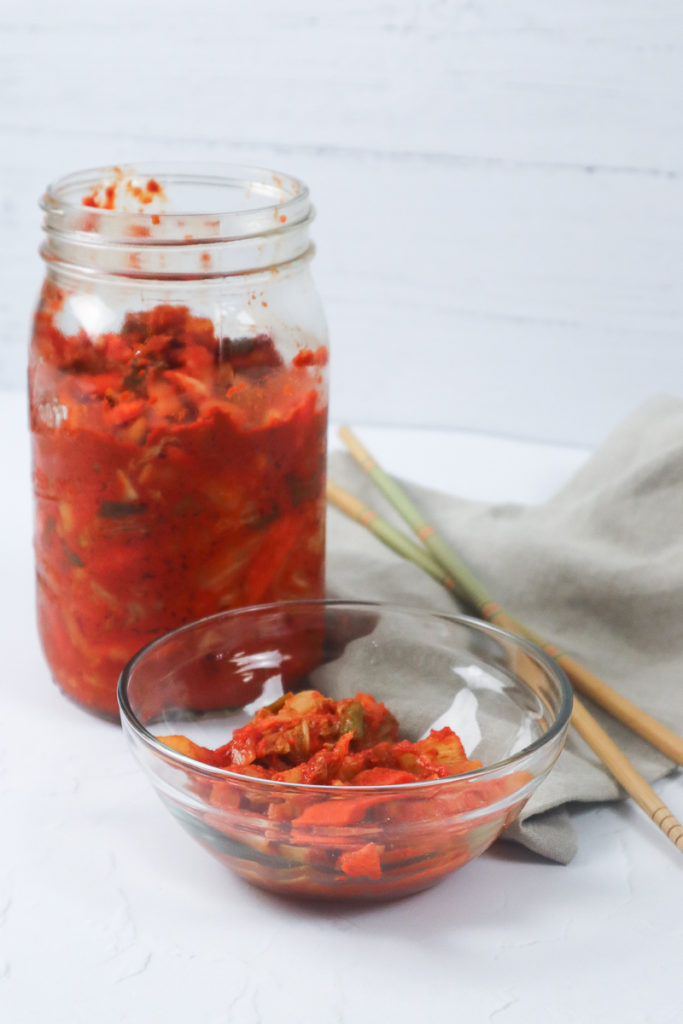
Keeping all that’s been said in mind, I’ve been creating kimchi for quite sometime now. Reason, being, is that kimchi is usually made with fish ingredients (or fish sauce). Obviously, that is not vegan, so I knew I had to learn how to make it on my own.
There were a few modifications I made to make this a lot more doable in the kitchen. Here are my notes:
- Traditional kimchi requires making a porridge. Normally a paste-like consistency from starch and water mixed in with the red pepper powder so that the paste can stick onto the vegetables. I’ve tried both methods with the porridge and without, both gave the same results. So I’ve made my kimchi paste thick enough to eliminate a step.
- My choice of vegan substitute is low sodium tamari (gluten free soy sauce) in replacement for fish sauce. Using regular soy sauce or, even a tablespoon of miso paste may work. If you are not comfortable using soy and want to keep this a soy free dish, soaking dried kelp (seaweed) and vegetable stock will do the trick.
- The longer you ferment, the more tangy / sour it gets. I find the sweet spot between 3-4 days, depending on how warm my environment is. During hotter days, kimchi ferments quickly and may only take less than three days. It is always good to taste test by day 2 and go from there. In this recipe, I’ve left it in the pantry for four days. Once you feel that your kimchi is at its right sourness, place it in the fridge to chill.
- Sterilize all your equipment and utensils before use. Because you are dealing with gathering the good kind of bacteria, you never want to attract other unwanted bacterias. While the fermentation process isn’t and shouldn’t be terrifying, practicing good kitchen cleanliness and hygiene helps prevent any food contamination; especially with dishes like this that are very vulnerable to it.
So, there you have it! Now it is your turn to make this kimchi recipe. Are you a fan of kimchi? Let me know in the comment section below. And if you end up making it, tag me on Instagram or share your experience here!
Vegan Kimchi
Equipment
- sterilized mixing bowls
- sterilized cutting board, knives, and spatula
- sterilized large jars
- food gloves (optional but highly recommended)
- food processor or blender
- strainer or colander
Ingredients
- 1 medium (roughly 2-3 lbs) napa cabbage roughly chopped
- ½ cup (125g) kosher salt + more for flavoring or any salt free from iodine
- 1 large carrot julienned (or chopped into thin match sticks)
- 1 medium (roughly 1-2 lbs) white radish julienned (or chopped into thin match sticks)
- 5 stalks green onions roughly chopped
FOR THE KIMCHI PASTE
- ⅓ cup (43g) gochugaru (Korean red pepper powder)
- 3 cloves garlic
- ½ inch fresh ginger
- 1 small pink lady apple or any apple / Asian pear
- 2 tbsp tamari or regular low sodium soy sauce
- 1 tsp rice vinegar
- 2 tbsp sweetener (I used agave)
- 1 tbsp sesame oil
- salt & pepper to taste
- splash of water (for paste)
Instructions
- STERILIZE! Because fermentation is a process of growing the good kind of bacteria into your food, the first step is to ensure that all the equipment and kitchen tools you will be using are clean to avoid any contamination. You may soak all your equipment / tools in a bath of really hot water 30 minutes before starting.
- SALTING YOUR CABBAGE. Begin by simply chopping your washed napa cabbage into pieces. The simplest way to do this is to cut the whole cabbage in half lengthwise, remove its core (as it is not needed), and chop into your desired size. Then place on a mixing bowl. Sprinkle all the iodine-free salt onto the cabbage. With clean hands, massage the salt all over the cabbage until all are fully coated. You may also "bruise" or press as much salt as you do this to make sure that every part of the cabbage is penetrated with salt. Once all cabbages are coated with salt, leave it alone for one hour to allow the cabbage to release all its water. Why is this important? Salt will remove as much liquids from the cabbage in order for the flavors to penetrate over a period of time. Removing its liquids will also make sure that the kimchi is fermented properly. Can I use iodized-salt? No. Iodine contains chemicals that interfere with the fermentation process. Kosher salt is ideal but if you do not have it, iodine free sea salt will also work.
- PREPARE YOUR INGREDIENTS. Chop carrots, onions, and radish into matchstick pieces (julienned). Set aside until ready for use. Roughly chop kimchi paste ingredients such as the apples, garlic, and ginger.
- CREATE THE KIMCHI PASTE. As you wait for the cabbage, you can start with creating the kimchi paste. Using a food processor or blender, add the apples, garlic, ginger, gochugaru, liquid ingredients, and other seasonings & flavors. Pour a splash of water (roughly around 1-2 tbsp). Cover and blend on high until creates a thick paste consistency. What if I don't really like it spicy? You can cut down the amount of gochugaru to, at the least, ¼ cup. If you like it spicy, simply add more. Can I use other spices like gochujang or sriracha? No. Gojuchang is already a fermented paste on its own and flavors will be different. I would not recommend using other spices as it may ruin the integrity of the kimchi flavor. What if I don't have the equipment to make a paste? You may use a box grater and grate all of the solid ingredients such as your apples, garlics, and ginger very (very) finely. You can also use a mortar and pestle, if you have access to it. Mix in with a splash of lukewarm water, and add the rest of the ingredients. Stir until it becomes a paste.
- DRAIN OUT THE CABBAGE LIQUIDS & RINSE. Using a strainer or colander, drain out the cabbage liquids and wash throughly until almost all the salt has been stripped off. At this point, your cabbages should have shriveled in size.
- MIX ALL THE INGREDIENTS TOGETHER! On a large mixing bowl, combine all ingredients together – such as the drained cabbages, vegetables, and paste. Using your hands or spatula, massage the paste all over the vegetables until it is evenly coated. HIGHLY RECOMMEND that you use a pair of gloves or avoid touching it all. Be careful as the paste does stain. Do not touch your eyes or face when handling hot red pepper ingredients.
- STORE & FERMENT. Using a large jar or wide-mouth mason jar, pack the kimchi inside and keep it compressed. Keep it tucked and compressed as much as possible as gas will start to formulate throughout the days and some rising may (or may not) occur. Cover with a lid and store at room temperature for 2-7 days depending on your liking. Temperature is everything! Faster fermentation happens if you live in a warmer climate and, hence, slower in a cooler / colder climate. I live in the tropics and would get the right amount of sourness within 2-3 days. Check on the kimchi after day 2, taste testing with a sterilized fork. If you feel it needs more sourness, add another 24 hours. Once you are satisfied with the taste, place it in the fridge and it should be ready to eat. Will it stop fermenting in the fridge? No. Fermentation will slow down and will get tangy overtime. This is why store bought kimchi are a little more sour as it has been sitting on the shelf for quite some time. Can I ferment in the fridge instead? Yes, you can. Since the cold slows down the fermentation process, give it two weeks to fully develop a sour flavor.
- SERVE. On the side of your favorite dish or make as a kitchen staple to everyday cooking! ENJOY!
