
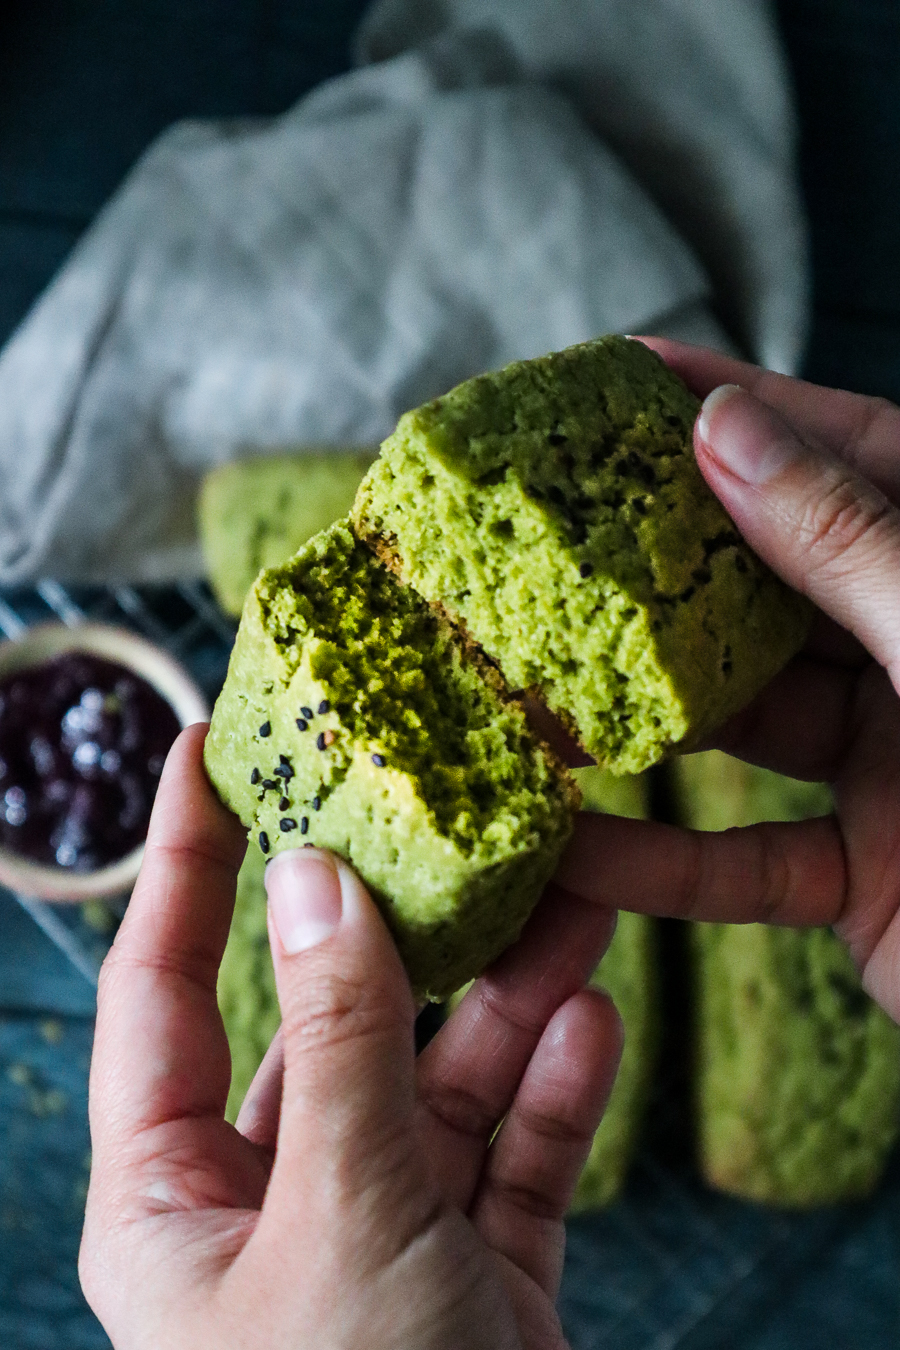
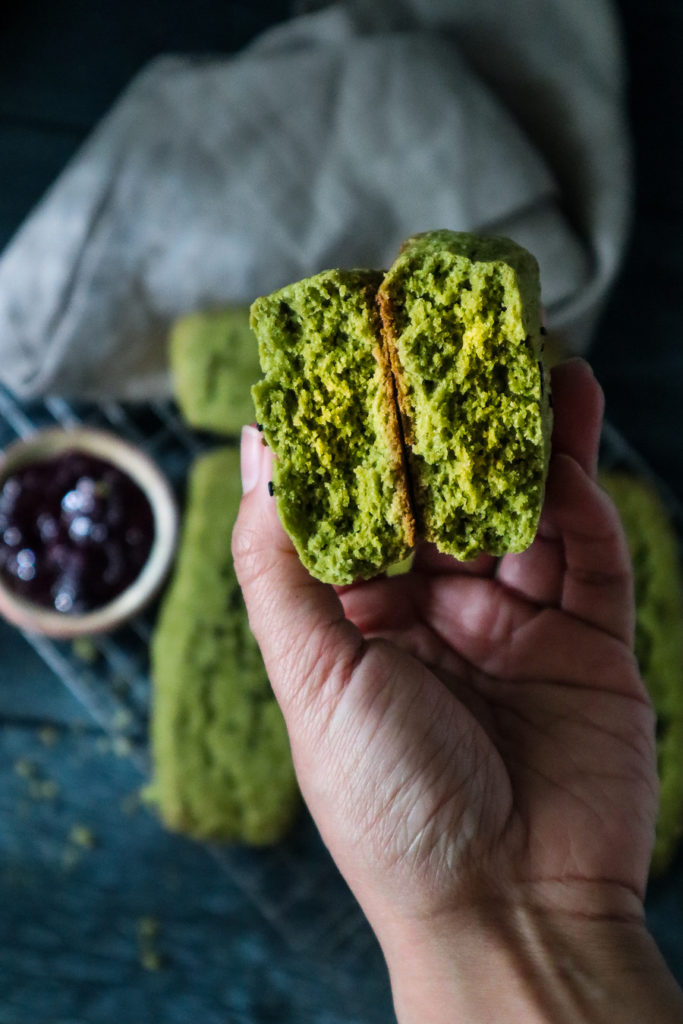
Okay, let’s be honest here! When you think of scones, this is probably not the first thing that comes to your mind. One, it is shaped like a giant lady finger biscuit and, two, it has matcha topped with sesame seeds. While this is, in no way, the traditional fruity vanilla scone, it is a creative spin on a tasty treat.
And scones, for one, are pastries ideally made for coffee and tea. But if it’s already flavored with green tea, that means, you get the best of both worlds. You feed two birds with one scone – get it?! (Debbie has left the building). Anyway, moving on.
WHY MATCHA?
The inspiration was simple, really. It came with the love of matcha. Matcha, is basically, ground green tea leaves often used in drinks and desserts all over East Asia. It’s become (much more) popularized in Westernized cultures, because not only is it a great unique flavor for drinks and desserts, matcha is generally safe for people trying to lower down the caffeine intake from coffee – giving you a calming and focused energy needed without any crash or withdrawal.
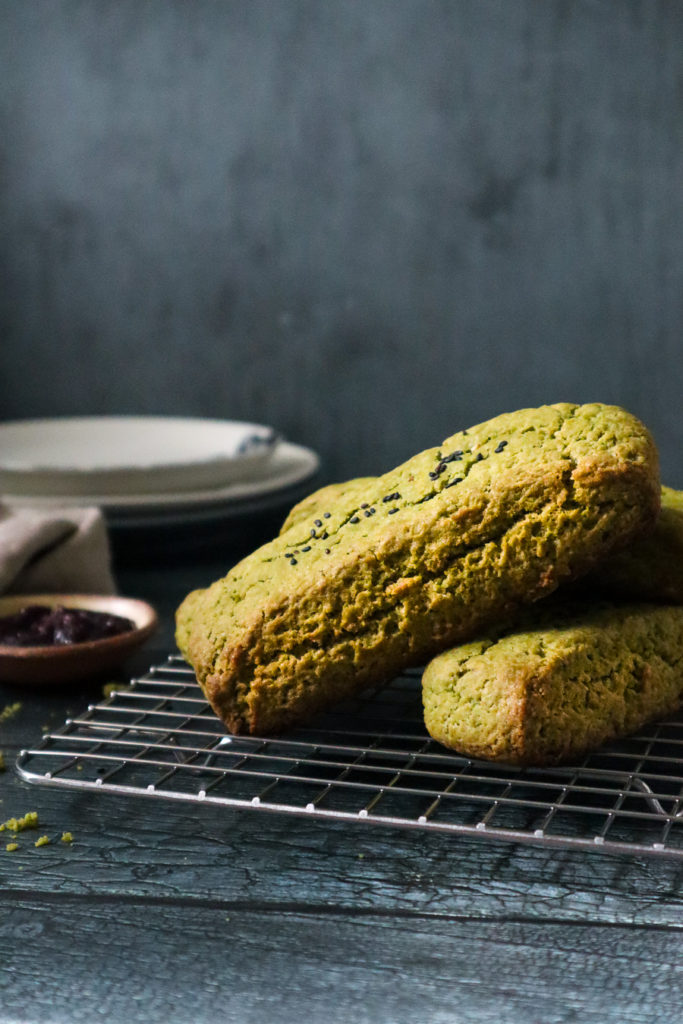
Matcha scones are nothing new. I’ve come across matcha scones in Japan and, also, used to get them on island at a local coffee shop. I have not had it in a while. In terms of the shape of the scone and why they are rectangles rather than a triangle…well…I know, I will be judged for this but I really just felt like shaping it that way. It was more functional for me. I like to rebel in the kitchen. Sorry (not sorry). Feel free to shape it however you want.
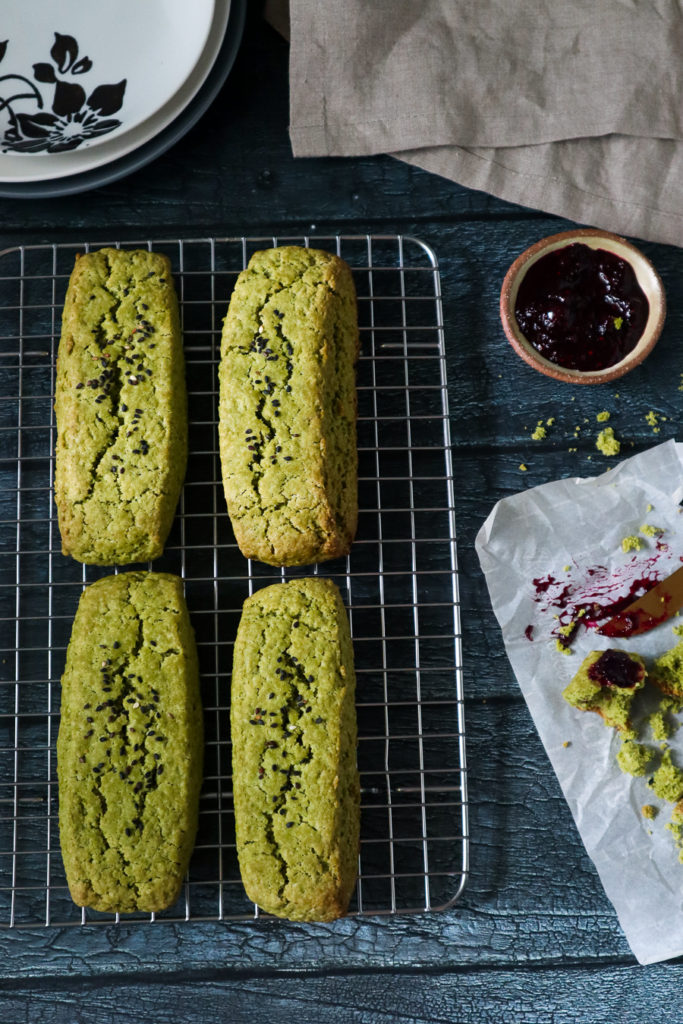
Adding sesame seeds will give it a unique and nutty flavor on top. For this recipe, I kept the black sesame seeds subtle – as the taste might not be for everyone. But the combination of both (matcha and sesame seeds) actually compliment each other as they commonly acquire a savory and earthy flavor profile, that the scone does not become overtly sweet or bland. Flavors are robust but in a delicate way. I say, if you love the flavors of sesame – add more to it.
GETTING STARTED
To help you get started, here are a few items that you may need to find (outside of your pantry):
- Quality matcha powder – Try finding Grade A culinary matcha. How to know if your matcha is top quality? If you mix it in hot liquid, does it look like a muddy green or a vibrant green? Vibrant green is what you are going for. Quality matcha will keep your baked goods from being bitter, as cheaper matcha have an unpleasant bitter after taste. Quality matcha is also much robust in flavor.
- Black Sesame Seeds – for the scone toppings. If you do not have this, feel free to use white sesame seeds.
- Rolling pin – Any sized rolling pin will do. If you don’t have one, a clean wine bottle or tall drinking glass with a smooth exterior would do.
- Box grater, microplane, pastry cutter, or a food processor – to handle the butter and dough.
HANDLING THE PASTRY DOUGH
- Firstly and foremost, the key tip of handling the pastry dough is to keep everything cold. And most importantly, keeping the butter as cold as possible. Why? This is what will give your pastry dough the flaky layers. It’s the same process as making biscuits.
- If you feel your dough or butter softening at some point, stick it back into the fridge before handling. Your dough will feel sticky when you handle it on a surface so always keep extra flour on hand and be sure to flour your rolling pin to avoid it from sticking.
OTHER TIPS BEFORE BAKING
- Roll your pastry dough in one direction so that the butter inside the dough is spread evenly.
- You can use a pastry cutter to shape your scone. Shape however you like.
- Thickness is up to you. I kept the dough to be 1/2″ which gave me the desired “layered” look. The thinner it is, the less of a scone it will be – I would not go further than a 1/3″ thick.
- If you love sesame seeds, toast it on a stove top in medium heat for about 3-5 minutes before sprinkling on top of the scone. It will open up the flavors even more!
- Serve your scone as is or eat with your favorite jam.
Give this recipe a try and if you like what you see, please help me by liking this recipe or adding a comment in the comment box down below. Subscribe to my mailing list for exclusive newsletters. Follow me on Instagram and don’t forget to tag me when you create the recipes.
Vegan Matcha Sesame Scones
Equipment
- Mixing bowls
- box or cheese grater / microplane grater
- Spatulas
- parchment paper
- bench scraper or sharp knife
- Rolling Pin
- baking tray
- sifter
Ingredients
DRY INGREDIENTS
- 309 g (2 cups) all purpose flour sifted + more for handling the dough
- 1 tbsp culinary grade matcha powder sifted
- 2 tsp baking powder sifted
- 205 g (¾ cup) granulated sugar
- 1 stick (8 tbsp) vegan butter cold or frozen (see notes)
- 1 tsp kosher salt (or sub ½ tsp for fine salt)
- black sesame seeds
LIQUID INGREDIENTS
- 95 g (½ cup) non-dairy unsweetened milk cold
- 1 tsp apple cider vinegar or lemon juice
- 2 tsp vanilla extract
Instructions
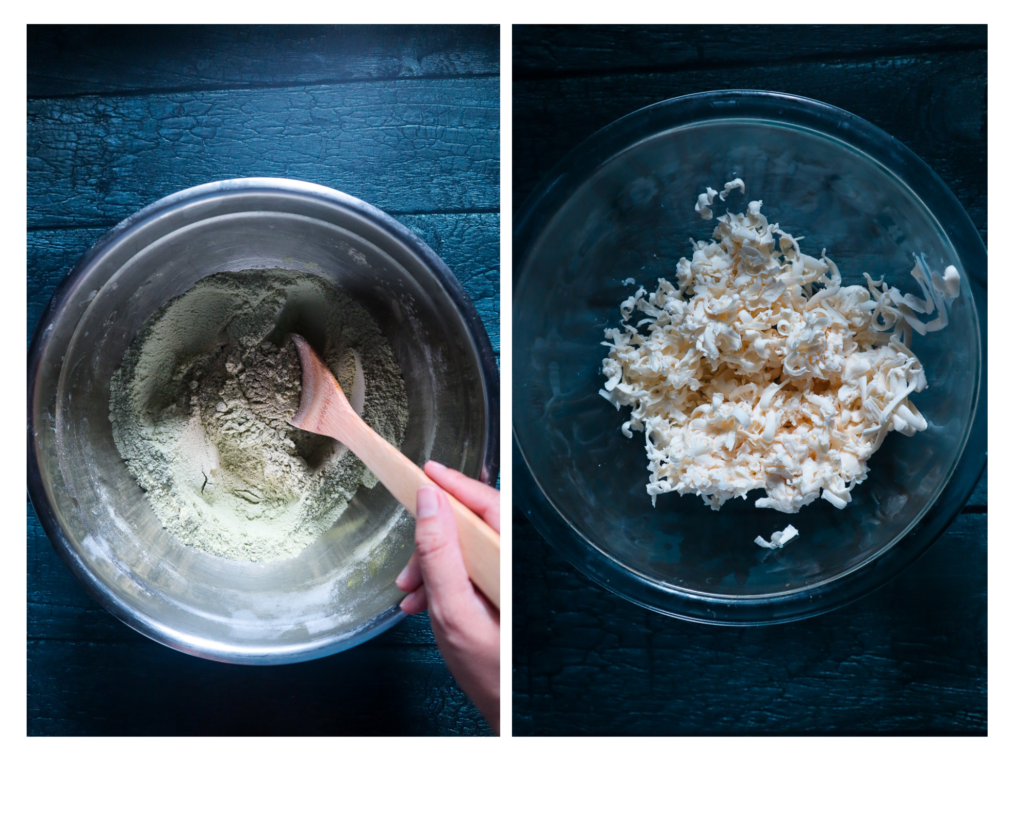
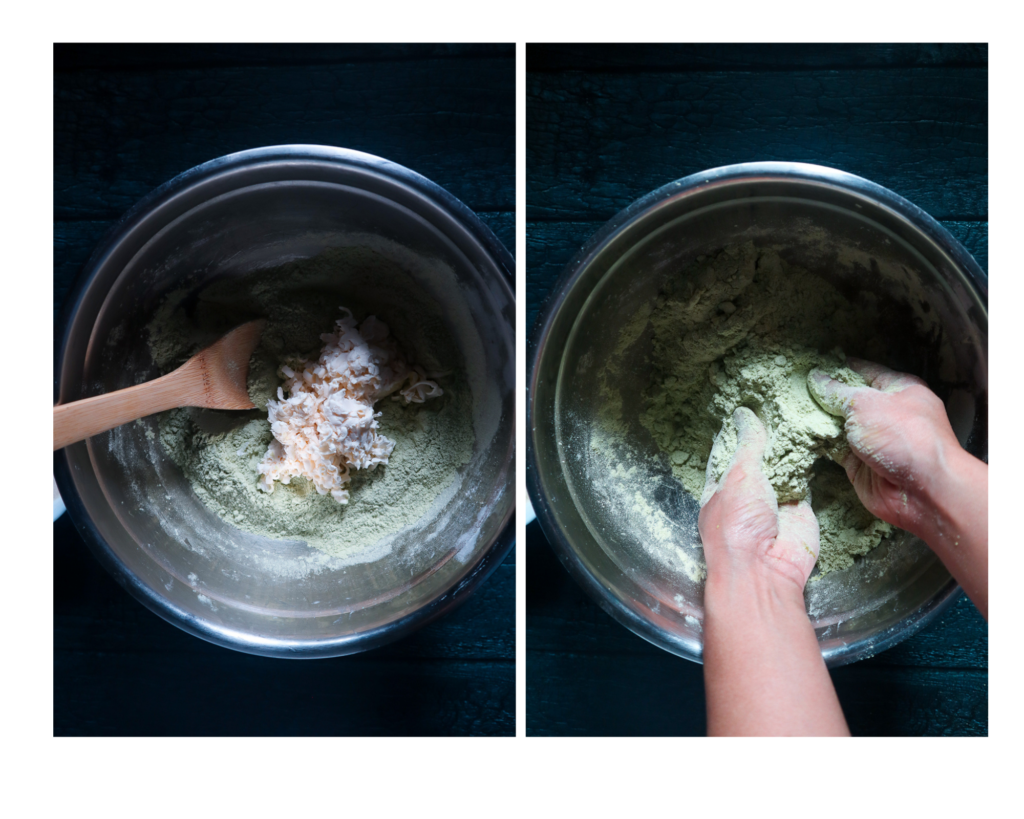
- Freeze your stick of butter into the freezer an hour in advance (or overnight). When you are ready to prep the ingredients for baking, using a box grater, grate the stick of butter into shreds. Stick it back into the freezer or refrigerator to keep the butter cold. (See notes for an alternative method)
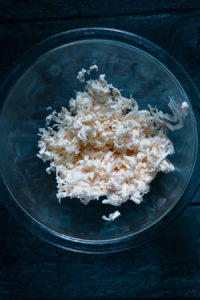
- In a large mixing bowl, sift the dry ingredients and mix until well combined. In a separate bowl, whisk all liquid ingredients. Set the liquid ingredients aside.
- Drop the shredded butter into the dry ingredients. Using your clean hands, massage the butter into the mix. Massage into the dry ingredients until all the butter is incorporated – it should have a resemblence to a "damp sand" consistency. Be sure to work fast, as the warmth of your hands will affect the temperature of the butter. If you feel, in any way, that your butter is softening – place your mix into the freezer for 15-20 minutes to let it cool down.
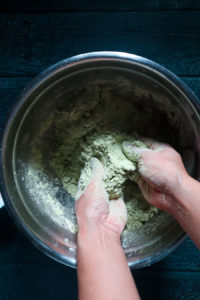
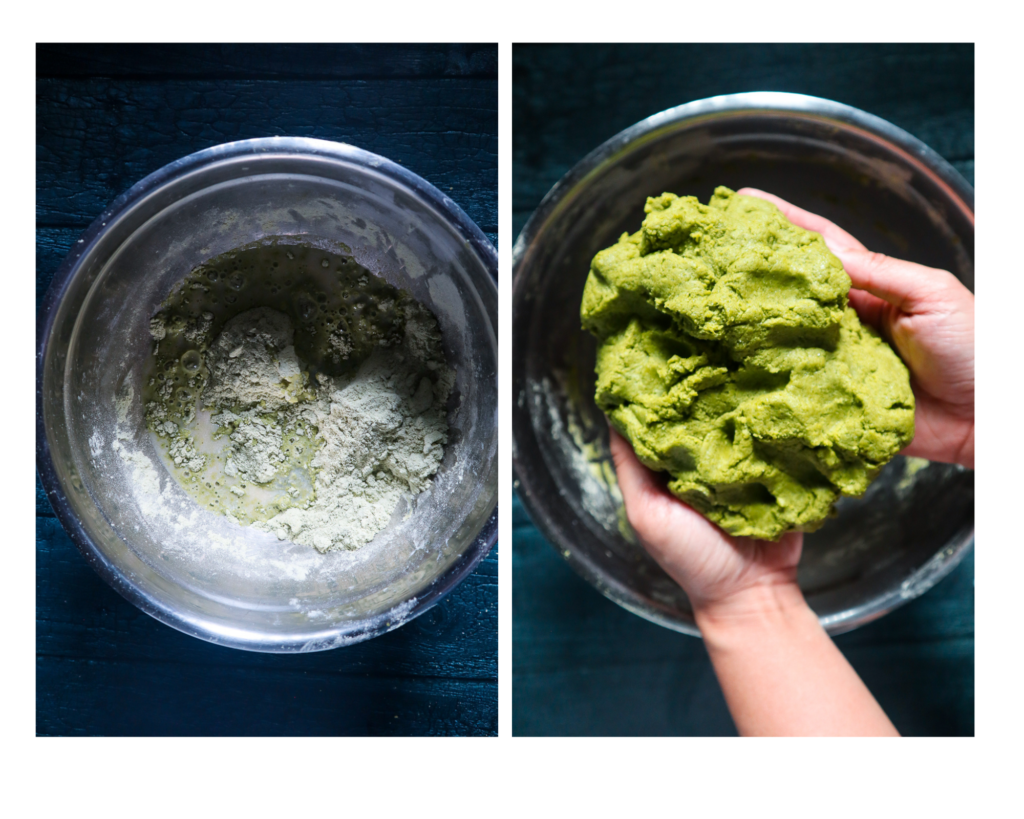
- Pour the liquid ingredients into the dry butter mixture and fold (using a spatula or your hands) until it forms into a dry looking dough. The dough might look dry (or fall apart) which is completely normal. As you press the dough with your hands, it should be able to combine. Massage through until all the dough pieces are hydrated. Do not overwork.
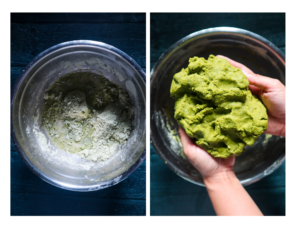
- Place your dough back into the fridge for 20 minutes covered to let the butter set and stay cold.
- Preheat the oven to 375°F. Prepare a baking tray lined with parchment paper. Set aside.
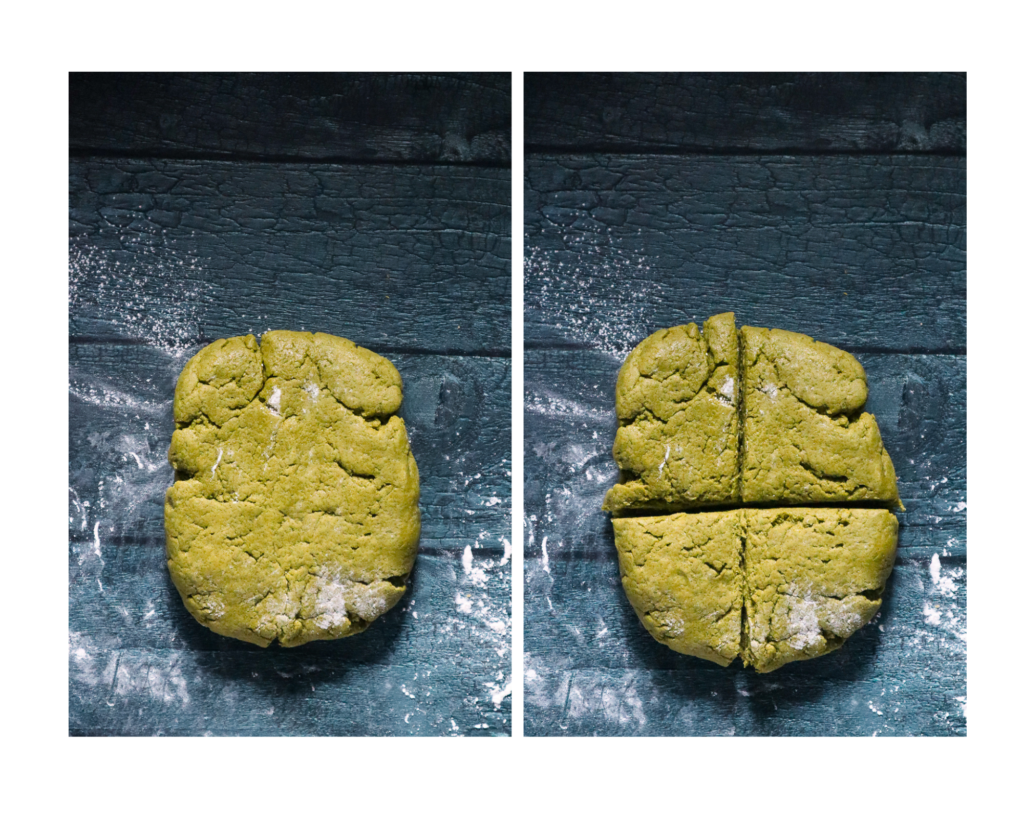
- On a clean surface, dust flour on the counter and your rolling pin. Roll out your dough into about ½ inch thick. Be sure to roll out in one direction. Shape is up to you, I found it easier to work with a rectangle. Using a bench scraper or sharp knife, divide the dough into four pieces. If you find that your dough is sticking on the rolling pin or the surface, lighty dust with flour.
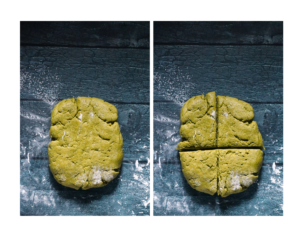
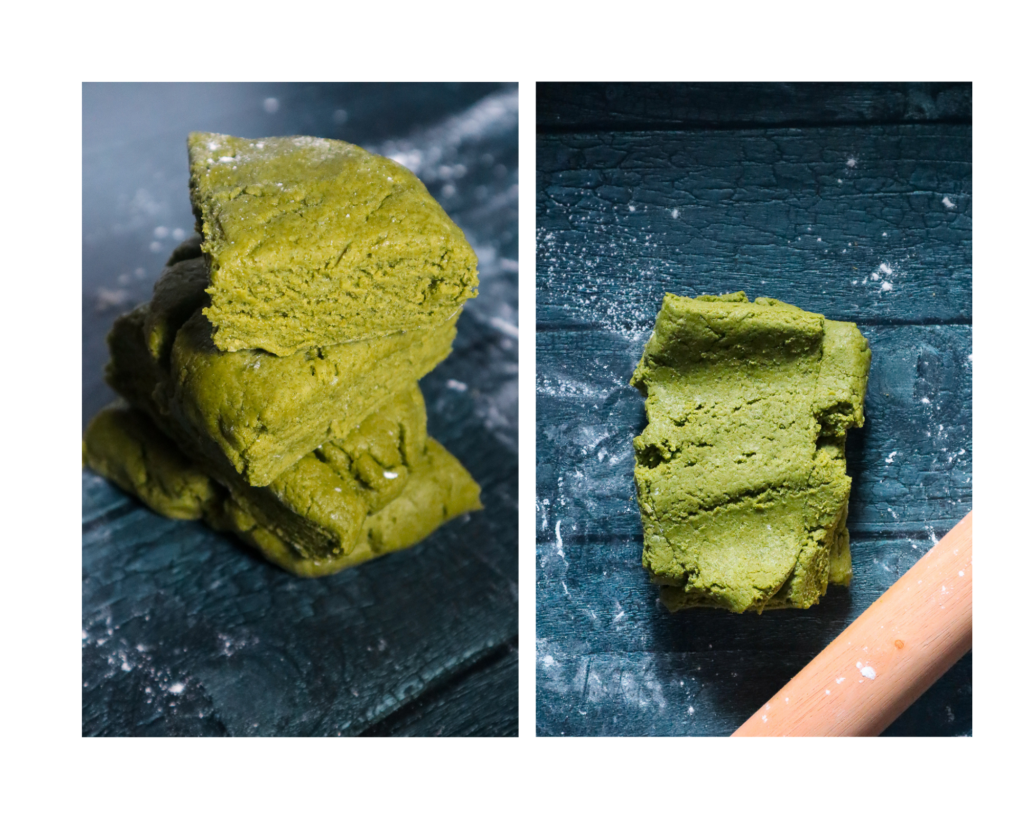
- Stack the pieces on top of each other and flatten with a rolling pin and roll out to ½ inch thick again. Roll out in one direction and fix the edges to form an evenly shape rectangle. This is called laminating your dough, which will create the flaky layers of the scone.
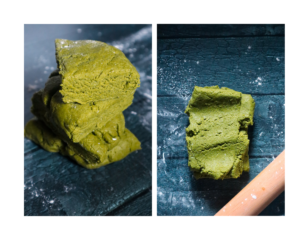
- Using a sharp knife or bench scraper, divide into 6 pieces (or desired size). You can also use a round cookie cutter for a circle shaped scone or cut into triangles for the traditional look. Line on a baking tray widely spaced apart (they will spread and expand).
- Generously sprinkle on sesame seeds on top of the scone.
- Bake in the oven for 25-30 minutes or when the scones turn golden brown on the exterior.
- Best eaten fresh with your favorite jam. Store in an airtight container for storage.
Notes
